
Simple Ways to Remove Old Caulk Bead
By: John Garcia | Date Posted: May 20, 2022
Table of Contents
The purpose of caulk is to provide a barrier against water, air, and moisture. It is designed to function as part of the overall building envelope.
It means that you want your caulk to last for many years. Unfortunately, caulk doesn’t always work out as planned.
Many people have had issues with old caulking in their showers and tub. Luckily, you can do a few things to remove old caulk from your bathtub.
Remove the Old Caulk Bead
You can try using a utility knife to cut the existing caulk out of the joints. It is not an easy task, but it can be done with some patience. Alternatively, you may decide to use a caulk removal tool. These can be found at most hardware stores.
Once you have removed the old caulk, you need to clean the area thoroughly. It means using a cleaner that will remove any soap scum, mildew, or other debris that may be present. Once the area is clean, you can apply new caulk.
Be sure to use high-quality caulk to get the best results.
Keep reading to learn practical and simple ways how to remove old caulk beads.
Ways How to Remove Old Caulk Beads
-
Apply a poultice
If you have stubborn stains in your shower or bathtub, the best way to remove old caulk beads from these surfaces is by applying a paste made of baking soda and lemon juice.
Mix equal parts of each, apply it to the grimy spot with a putty knife or paint scraper, let it sit for a few hours, and then wipe off the softened caulk residue with a paper towel.
-
Use an oscillating tool

If your old caulk is still mostly intact, you can easily remove it with an oscillating tool fitted with a carbide grout removal bit with an abrasive pad. Hold the device slightly against the old caulk and let it do the work for you.
-
Use an epoxy remover
If you have particularly tough old caulk residue left on your shower or tub, one of the best ways to remove it is by using an epoxy remover. These products are specially formulated to break down caulk and make it easy to scrape off of the surface.
-
Call in a professional
If none of these methods are working for you, you may want to call in a professional who can remove your old caulk bead quickly and easily. A professional will have the experience necessary to get the job done right so that you can enjoy your new shower or tub.
-
Consider replacing the caulk

The final option for removing the old caulk is simply replacing it with new caulk. It can be a good idea if your current caulking is damaged or has started to deteriorate over time. It’s easy enough to do with the right tools and materials, so you may consider this an option.
-
Get rid of mold
One of the most common problems with an old caulk bead is the presence of mildew or other types of mold. If you have a lot of black spots on your shower or tub, it’s crucial to get rid of them before applying new caulk.
To do this, use a disinfecting cleaner and scrub brush or sponge to remove the mildew.
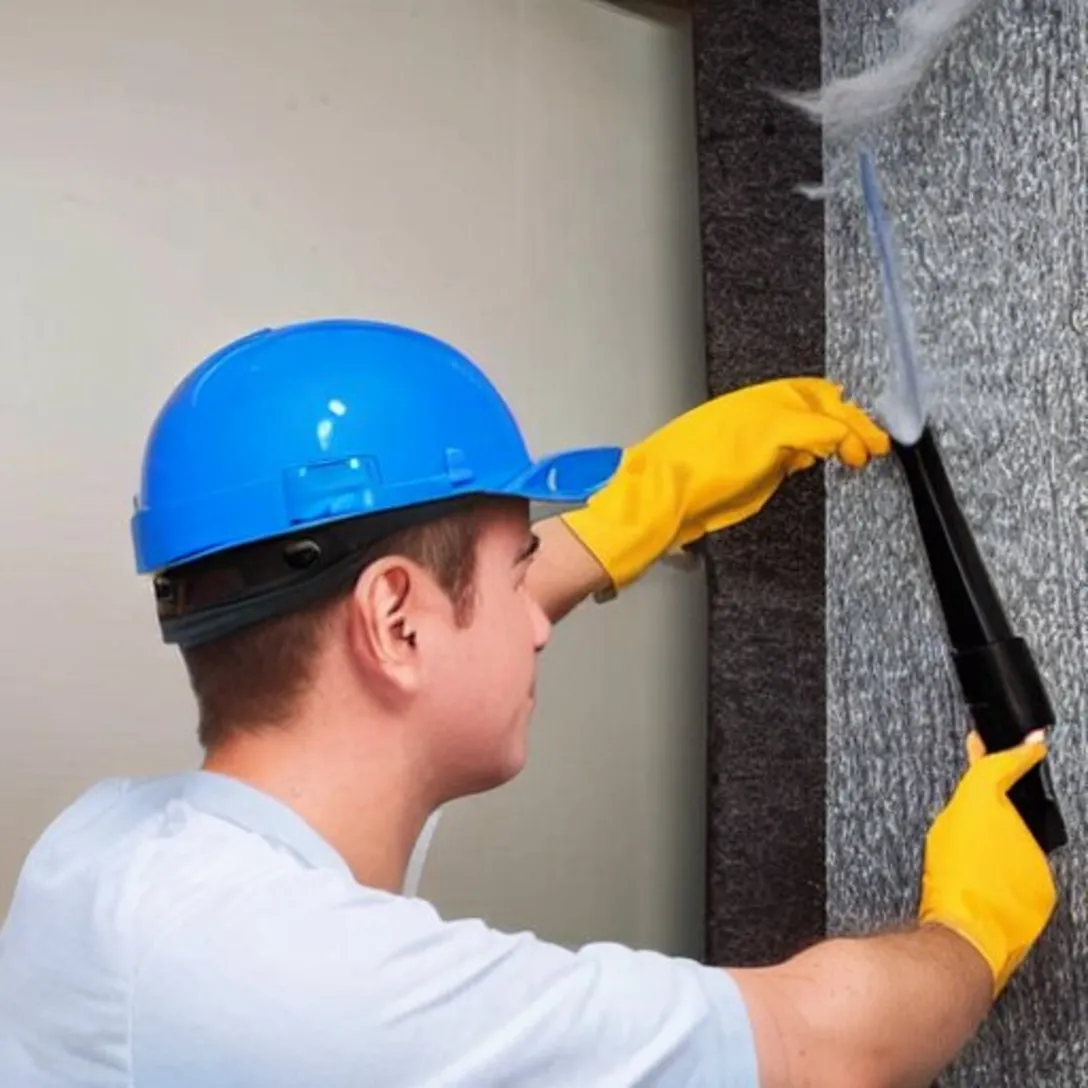
Whichever method you choose, always wear gloves and protective eyewear whenever you are working with caulk. Removing old caulking can be messy and complex, but it is well worth the effort to have a clean tub or shower once again!
As you can see, there are several simple ways to remove old caulk beads from your shower or tub. Whether you choose to use a utility knife, an oscillating tool, an epoxy remover, or professional help, always be safe and careful when attempting this task.
With the right tools and techniques in hand, you can get your old caulk out of your bathtub quickly and easily.
Most Common Caulking Mistakes

Preparation is essential
When you open a tube of caulk, you make one of the most common mistakes. You won’t be able to make it last without preparation of your surface. You must take away the old caulk, flakes of paint, and crumbling grout before laying a new bead. Make sure any surface damage is repaired before you apply the new bead.
The right cut

Whenever the caulk is opened, you can customize the opening according to your specific needs with the tapered tip. The tendency for many people is to cut the caulk tip and seal the crack without considering the size of the crack. Consequently, the surface becomes sticky or has too much material on it. When cutting the tip, make the opening a little narrower than the tip by applying pressure and speed.
Gaps need to be filled
There is another pitfall when it comes to width – filling large gaps with caulk. Foam rope is required for openings that are more than half an inch deep or more than a quarter-inch wide. It is costly and affects the performance of the product to fill a crack with caulk. In addition to optimizing thickness, backing material provides the best cosmetic finish.
Be patient
Many people rush right into work, putting material to use immediately. Creating a bead of caulk that looks good and performs well takes a certain amount of skill.
You can practice on a grocery bag instead to get a feel for how much pressure to apply and how the bead emerges. The key is consistency. Similarly, you can jump into a long bead without stopping.
There may not be enough space for the caulk gun near the end. Consequently, your nicely crafted beads become a mess. Caulk first the last 6 inches, or work from edge to edge. Try to maintain consistent speed, angle, and pressure.
The Final Step
Last but not least, the finishing process is a common pitfall. There is one more critical step to complete: For most caulking jobs, you only need some water, some paper towels, and your fingertip.
When you smooth the bead with your fingertip (or metal spoon or ice cube for exterior caulk), you achieve two things: The caulk adheres firmly to both surfaces, and it appears tidy and clean.
Thank you for reading!