")
How to Cut Tempered Glass Easily? Complete Guide (2026)
By: John Garcia | Date Posted: July 10, 2026
Table of Contents
- Why Tempered Glass Can’t Be Cut
- How to Identify Tempered Glass
- What to Do If You Need a Different Size
- Safety Precautions
- Frequently Asked Questions[+]
- Understanding the Tempering Process
- Alternatives to Cutting Tempered Glass
- How to Cut Regular Glass
- My Recommendation for Working with Tempered Glass
- Common Uses of Tempered Glass
- Tools and Materials for Glass Projects[+]
Updated July 2026. Cutting tempered glass is not possible with standard glass cutting tools. Tempered glass is heat-treated to be much stronger than regular glass, and it’s designed to shatter into small pieces when broken. If you need a specific size of tempered glass, it must be cut to size before the tempering process. I’ve learned this lesson the hard way after trying to cut tempered glass myself.
Below I’ll explain why tempered glass can’t be cut, how to identify tempered glass, and what to do if you need a different size.
Why Tempered Glass Can’t Be Cut
Tempered glass is made by heating regular glass to about 1,200 degrees Fahrenheit and then cooling it rapidly. This process creates internal stresses that make the glass much stronger than regular glass. The tempering process also changes the way the glass breaks. When tempered glass breaks, it shatters into small, relatively harmless pieces rather than sharp shards. The internal stresses that make tempered glass strong also make it impossible to cut. If you try to cut tempered glass with a glass cutter, the glass will shatter when you apply pressure to the score line. The internal stresses cause the glass to break unpredictably, making it impossible to create a clean cut. Even if you manage to score the glass, it will likely shatter when you try to snap it along the score line. The only reliable way to cut tempered glass is to cut it before the tempering process. Once the glass has been tempered, it cannot be cut or drilled without breaking.
How to Identify Tempered Glass
It’s important to know whether the glass you’re working with is tempered before attempting to cut it. Tempered glass typically has a small etched mark in one corner that identifies it as tempered. Look for a stamp or etching that says “Tempered” or “Safety Glass.” The etching may be small and difficult to see. Look for it in the corners of the glass. Tempered glass also has a slightly different appearance than regular glass. When viewed through polarized sunglasses, tempered glass may show a pattern of dark lines or patches. This is caused by the internal stresses in the glass. Tempered glass is also more resistant to scratches than regular glass. If you’re not sure whether the glass is tempered, try the light test. Hold the glass at an angle and look at the reflection. Tempered glass may show a slight distortion or waviness in the reflection. If you’re still not sure, assume the glass is tempered and treat it accordingly. Attempting to cut glass that you’re not sure about can result in the glass shattering, which can cause injury.
What to Do If You Need a Different Size
If you have a piece of tempered glass that needs to be cut to a different size, you have several options. The best option is to order a new piece of tempered glass cut to the size you need. Most glass shops and hardware stores can order custom-cut tempered glass. The cost of custom-cut tempered glass is about $10 to $30 per square foot. Another option is to have the glass annealed. Annealing is a process that removes the tempering from the glass, making it possible to cut it. However, annealing is a specialized process that is not widely available. The cost of annealing may be more than the cost of ordering new glass. Another option is to use a different material. If the application doesn’t require tempered glass, you can use regular glass or acrylic instead. Regular glass can be cut with a standard glass cutter. Acrylic can be cut with a saw. If the glass is part of a larger assembly, such as a shower door or table, you may be able to replace the entire assembly with a new one that includes the correct size of tempered glass.
Safety Precautions
If you attempt to cut tempered glass, take proper safety precautions. Wear safety glasses to protect your eyes from flying glass shards. Wear heavy gloves to protect your hands from cuts. Work in a well-ventilated area. Be prepared for the glass to shatter. If you’re cutting tempered glass, assume it will shatter at some point during the process. Have a plan for dealing with the shattered glass. Use a drop cloth to catch the shattered glass. Dispose of the shattered glass in a heavy-duty bag. Do not attempt to cut tempered glass that is under stress, such as glass that is installed in a door or window. The glass may shatter explosively, causing serious injury. If you’re not sure whether the glass is tempered, assume it is and treat it accordingly. The risk of injury from shattering glass is not worth the potential savings of cutting the glass yourself.
Frequently Asked Questions
Can you cut tempered glass with a laser?
No, lasers cannot cut tempered glass. The heat from the laser would cause the glass to shatter due to the internal stresses. Specialized industrial cutting techniques exist but are not available to consumers.
Can you drill a hole in tempered glass?
No, drilling a hole in tempered glass will cause the glass to shatter. Holes must be drilled before the tempering process. If you need a hole in tempered glass, order a custom piece with the hole pre-drilled.
Can you sand the edges of tempered glass?
Sanding the edges of tempered glass can cause the glass to shatter. The heat and vibration from sanding can disrupt the internal stresses in the glass. Edge finishing must be done before the tempering process.
How much does custom tempered glass cost?
Custom-cut tempered glass costs about $10 to $30 per square foot, depending on the thickness, size, and complexity of the cut. The cost includes the tempering process and the custom cutting.
Written by Mike, home improvement and DIY specialist. Updated July 2026.
Understanding the Tempering Process
The tempering process is what makes glass strong and also what makes it impossible to cut. The process begins with cutting the glass to the desired size and shape. The edges are smoothed and any holes are drilled. The glass is then heated to about 1,200 degrees Fahrenheit in a tempering furnace. The heating process must be uniform to ensure consistent tempering. After the glass reaches the target temperature, it is rapidly cooled using high-pressure air jets. This rapid cooling process, called quenching, creates compressive stresses on the surface of the glass and tensile stresses in the center. These stresses are what make tempered glass much stronger than regular glass. The compressive stresses on the surface make the glass resistant to impacts and bending. The tensile stresses in the center make the glass shatter into small pieces when it does break. The tempering process cannot be reversed. Once glass has been tempered, it cannot be untempered or annealed using standard methods. The internal stresses are permanent and cannot be removed without specialized equipment. The tempering process also changes the optical properties of the glass. Tempered glass may have a slight distortion or waviness that is visible in reflections. This distortion is a normal result of the tempering process and does not affect the strength or safety of the glass.
Alternatives to Cutting Tempered Glass
If you need a piece of glass in a specific size and the glass you have is tempered, you have several alternatives. The most practical alternative is to order a new piece of tempered glass cut to the size you need. Glass shops and hardware stores can order custom-cut tempered glass. The cost is about $10 to $30 per square foot, and the turnaround time is typically a few days to a week. Another alternative is to use regular glass instead of tempered glass. Regular glass can be cut with a standard glass cutter and is much less expensive than tempered glass. However, regular glass is not as strong and will break into sharp shards. Regular glass is not suitable for applications that require safety glass, such as shower doors, patio doors, and windows near doors. Another alternative is to use acrylic or polycarbonate instead of glass. Acrylic is lightweight, impact-resistant, and can be cut with a saw. Polycarbonate is even stronger than acrylic and is virtually unbreakable. Both materials can be cut to size with standard tools. Acrylic and polycarbonate are good alternatives for applications where glass is not required.
How to Cut Regular Glass
If you’re working with regular glass that is not tempered, you can cut it with a standard glass cutter. Place the glass on a flat, clean surface. Use a ruler or straightedge as a guide. Score the glass with a single, continuous stroke using the glass cutter. Apply even pressure and don’t stop in the middle of the stroke. The score line should be clean and continuous. After scoring the glass, place a wooden dowel or pencil under the score line. Apply firm, even pressure on both sides of the score line to snap the glass. The glass should break along the score line. If the glass doesn’t break cleanly, the score line may not be deep enough or the glass may be tempered. Use a glass file or sandpaper to smooth the cut edge. Wear safety glasses and gloves when cutting glass. The glass may splinter or break unpredictably. Practice on scrap pieces before cutting your final piece. Cutting glass takes practice to master, and even experienced glass cutters occasionally break pieces. The cost of a glass cutter is about $5 to $15, and the cost of a piece of glass is about $5 to $15 per square foot.
My Recommendation for Working with Tempered Glass
Based on my experience with glass projects, I recommend ordering custom-cut tempered glass rather than attempting to cut it yourself. The cost of custom-cut tempered glass is reasonable, and the risk of injury from shattering glass is not worth the potential savings. If you need to cut glass and you’re not sure whether it’s tempered, assume it is and treat it accordingly. Attempting to cut glass that you’re not sure about can result in the glass shattering, which can cause serious injury. If you’re working with regular glass, practice cutting it on scrap pieces before cutting your final piece. Glass cutting takes practice, and even experienced glass cutters occasionally break pieces. With the right tools and technique, cutting regular glass is a straightforward DIY project. For tempered glass, leave it to the professionals. The cost of custom-cut tempered glass is about $10 to $30 per square foot, which is a small price to pay for safety and peace of mind.
Common Uses of Tempered Glass
Tempered glass is required in many building applications where safety is a concern. Building codes typically require tempered glass in shower doors, bathtub enclosures, patio doors, windows near doors, windows near the floor, and glass in commercial buildings. The strength of tempered glass makes it suitable for these applications. Tempered glass is also used in furniture, such as tabletops, shelves, and display cases. The strength of tempered glass makes it resistant to impacts and scratches. Tempered glass is used in automotive applications, such as side and rear windows. The windshield is made of laminated glass, which is different from tempered glass. Tempered glass is used in appliances, such as oven doors and microwave doors. The heat resistance of tempered glass makes it suitable for these applications. Tempered glass is used in electronic devices, such as smartphone screens and tablet screens. The strength of tempered glass protects the device from damage. If you’re working on a project that requires tempered glass, order it from a glass shop or hardware store. The cost is reasonable, and the safety benefits are significant. Do not attempt to substitute regular glass for tempered glass in applications where tempered glass is required by building codes.
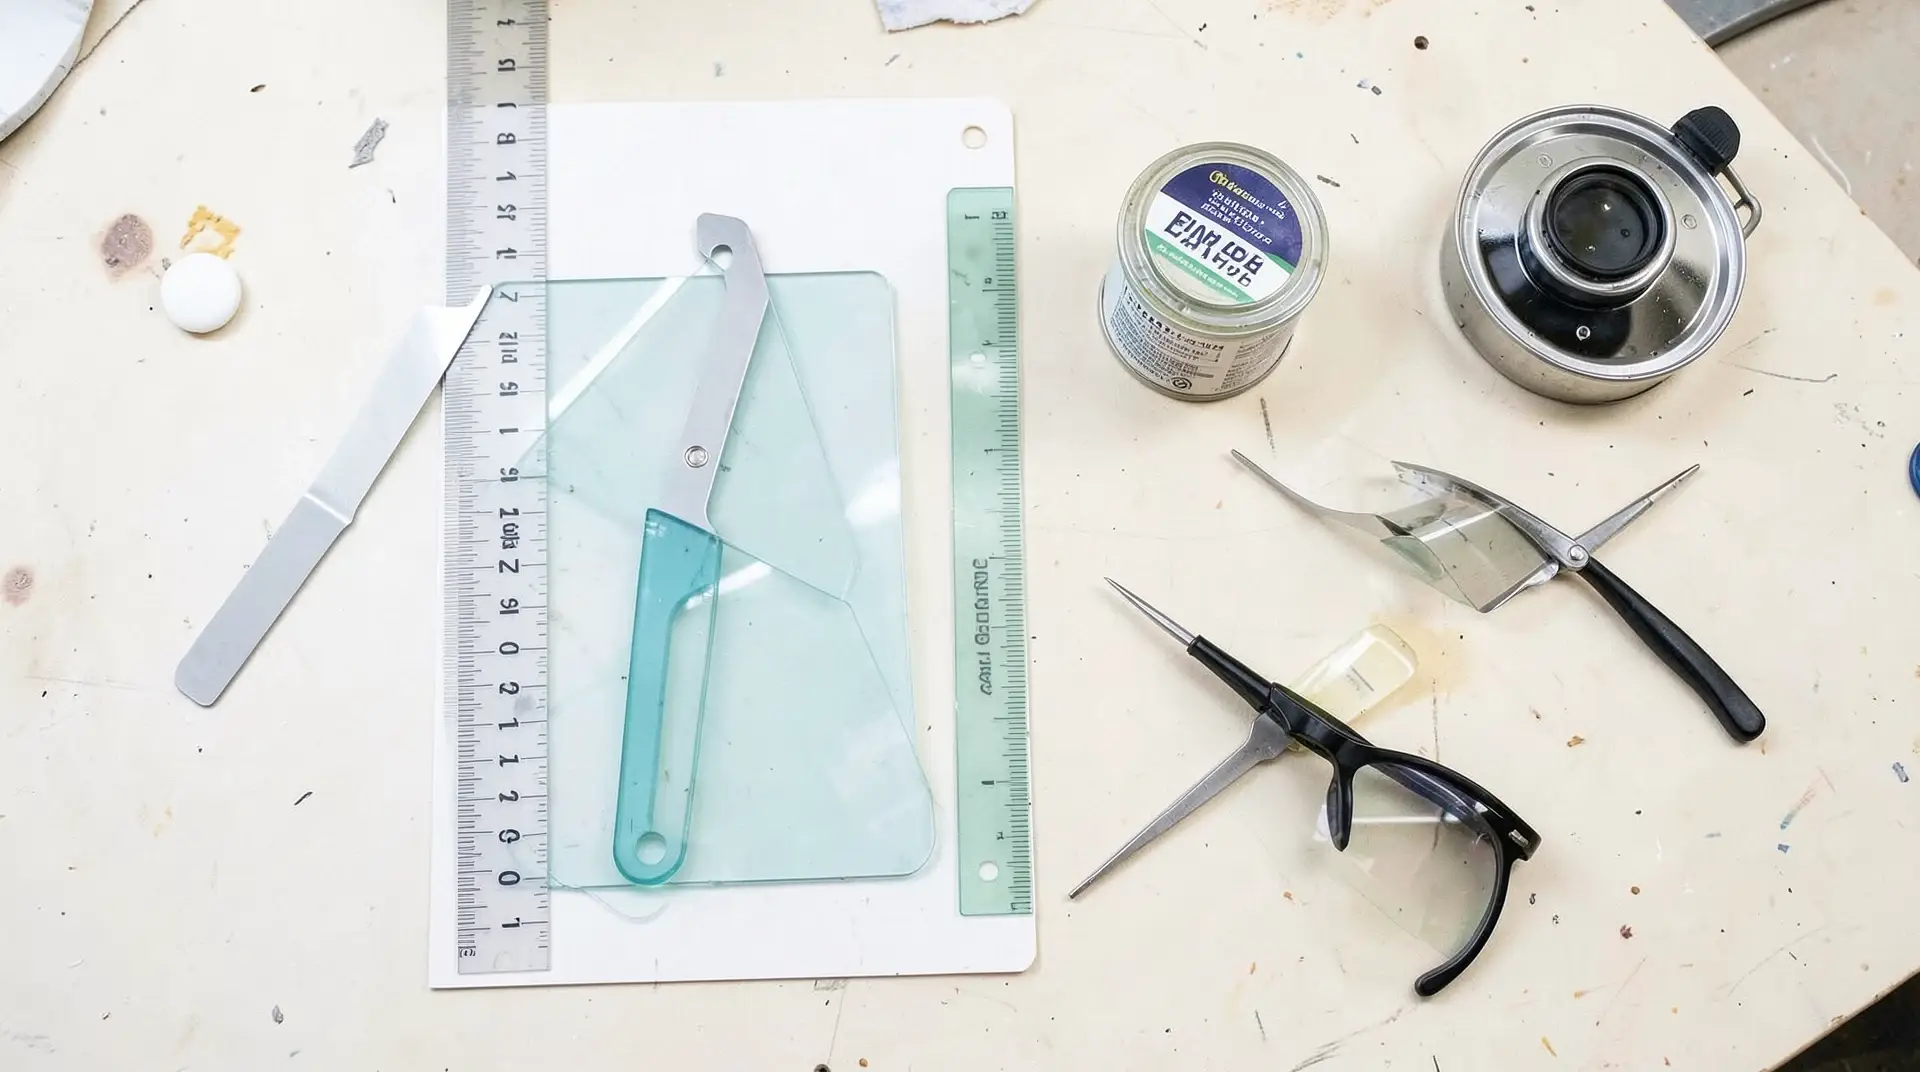
Tools and Materials for Glass Projects
If you’re working with regular glass, you need the following tools and materials. A glass cutter with a carbide or diamond wheel. A ruler or straightedge for guiding the cutter. A cutting oil or kerosene for lubricating the cutter. A wooden dowel or pencil for snapping the glass. A glass file or sandpaper for smoothing the cut edge. Safety glasses and gloves for protection. The total cost of the tools is about $10 to $30. The cost of glass is about $5 to $15 per square foot for regular glass. Practice on scrap pieces before cutting your final piece. Glass cutting takes practice, and even experienced glass cutters occasionally break pieces. The key to successful glass cutting is using a sharp cutter, applying even pressure, and making a single continuous score line. If the score line is interrupted or uneven, the glass may not break cleanly.
Thank you for reading!
