
How To Install Vinyl Plank Flooring?: A Homeowner’s Guide
By: John Garcia | Date Posted: February 8, 2022
Table of Contents
Are you planning to install vinyl plank flooring in your home? Do you want to adopt it as a personal project and do it yourself? This article will guide you appropriately to ensure you successfully put in place this flooring. Follow through with this guide.
Install Vinyl Plank Flooring
Do the following
-
Prepare Your Floor

With vinyl plank flooring, you can install it on your existing floor finish, such as tiles or your subfloor.
The secret to successfully installing vinyl flooring is to ensure the surface you’re laying it on is flat. If you’re placing it on your tiled floor, smoothen the surface, including the jointing that contains grout.
Use a filler to cover it and even the surface with a trowel. Remove any bumps using a floor scraper. If the surface is still uneven, consider utilizing a plywood underlayment. Vinyl plank flooring companies, such as Southern Luxe Flooring Willow Series, will have them in their stores.
If you’re laying the vinyl on the subfloor, ensure it’s flat as well. Flatten any protruding nails into the floor and fill the depression formed with a patch.
If there are any hollow areas, seal these areas with a floor patch. Sand the floor to ensure smoothness; use the roughest sandpaper for efficient sanding.
Remove debris or dirt by sweeping them away from both surfaces and using a vacuum pump later.
-
Remove Any Obstructions
Remove any fittings on the wall that are low-level. This could be your shoe rack or floor moldings, or low shelves. You don’t have to discard them; you can put them back into place when done. The aim is to give you adequate working space to install your vinyl plank floor.
The jam of your door might also be a distraction depending on your height. There should be enough space below your door to enable you to fit in the vinyl plank. Place a plank against the bottom of your door and see the size you need to cut away and do the cutting.
-
Make A Plan
Make a plan regarding the position and direction your planks will follow.
It would be best if you placed the vinyl planks against the longest wall of your room. This means that if your space is 6ft by 9ft, you’ll align your planks on the 9ft wall.
Before starting your placement, you need to have a rough idea of how the planks will fit on your floor. Use a measuring tape to measure the width of your floor and divide it by the widest width of your planks.
You’ll get the number of planks needed. It would be best if you didn’t have a plank whose size is less than half its length for a uniform look.
-
Place Your Spacers
Put in place joint spacers along the perimeter of your wall. They’ll leave a space between your vinyl and the wall. This space acts as an expansion gap, such that your vinyl will expand and contract quickly depending on the surrounding temperature.
With the space, they won’t misalign due to pressure and lack of room to expand and contract.
-
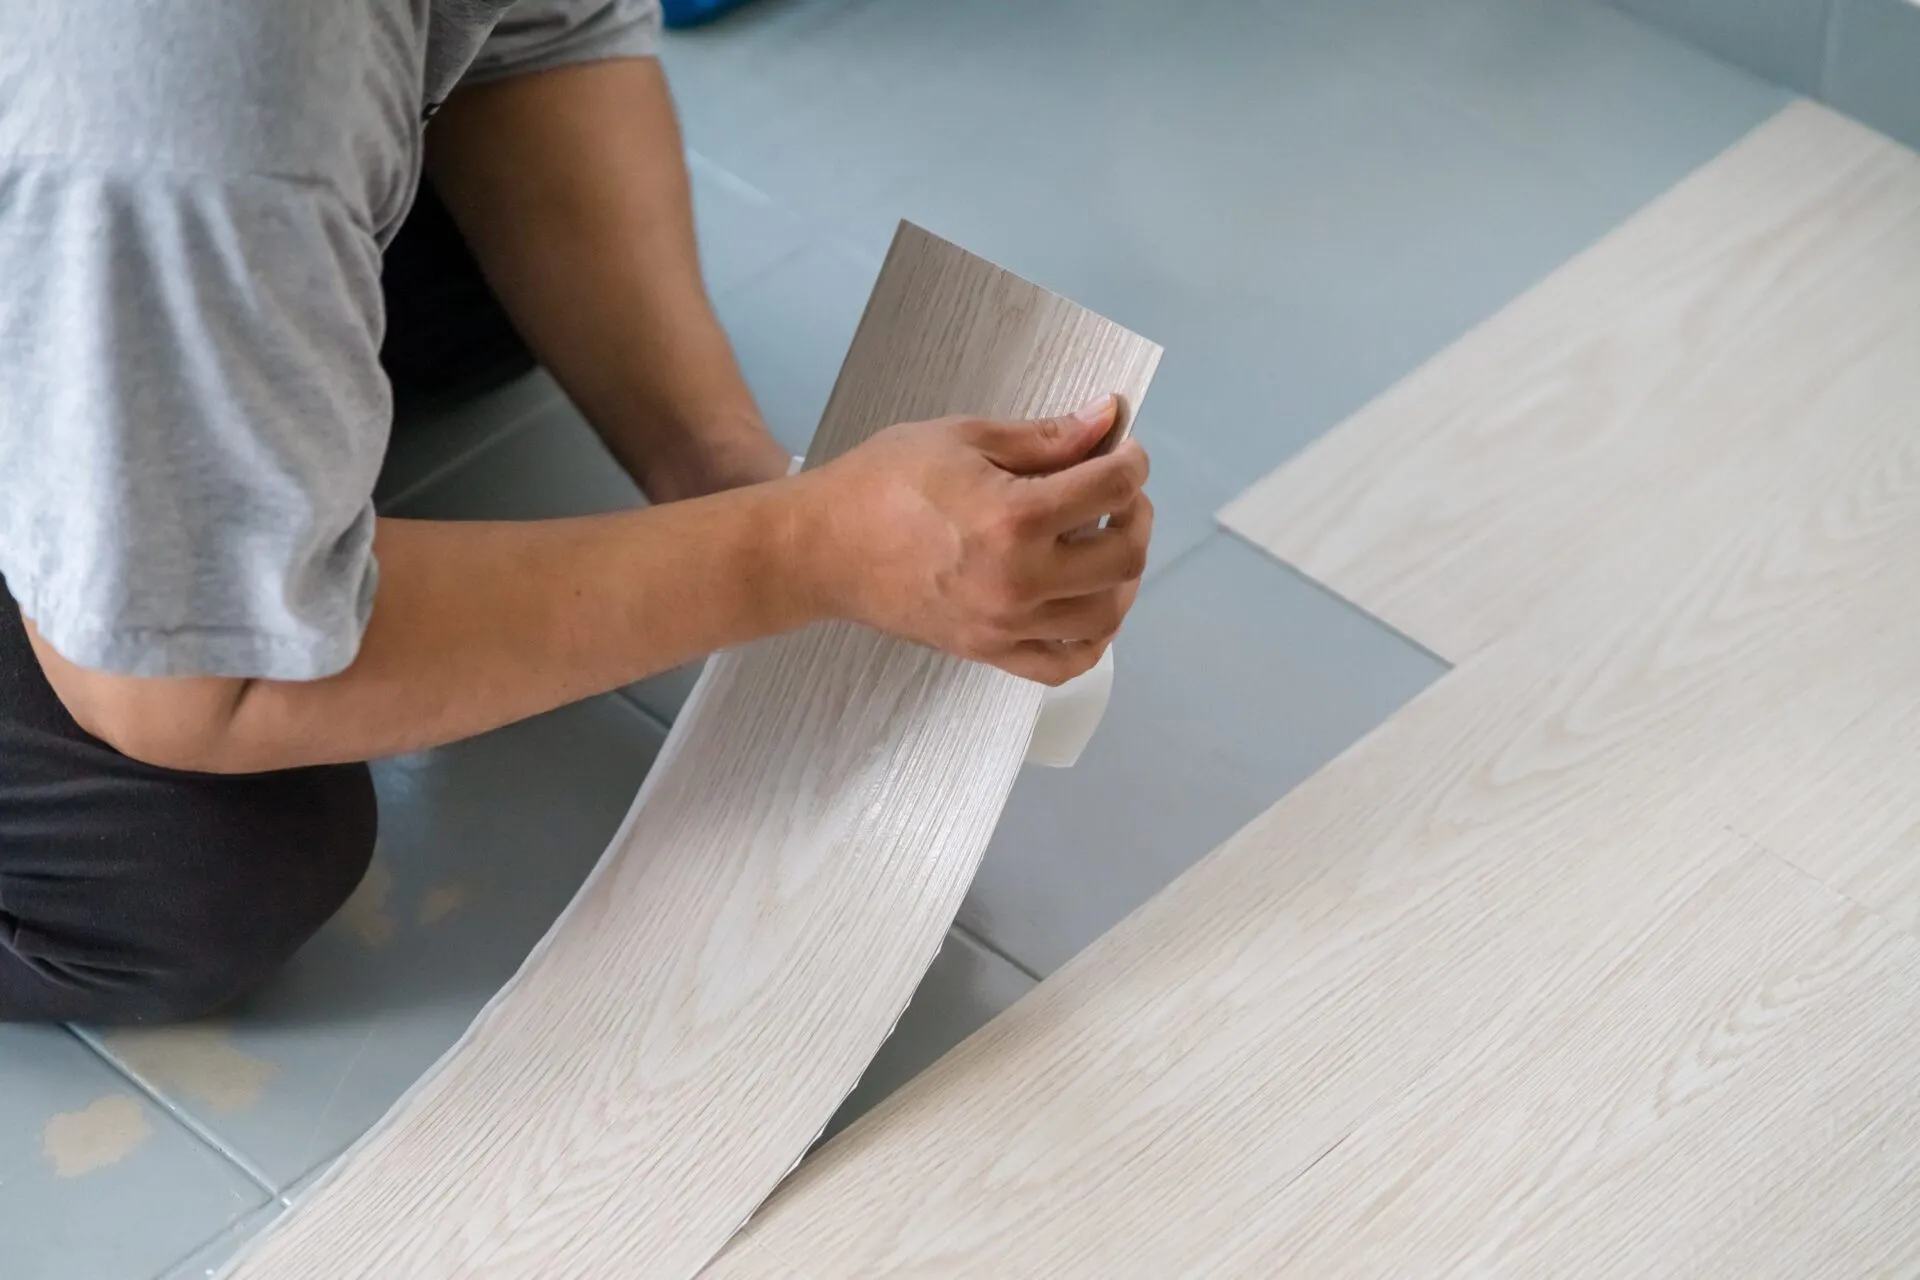
Lay Your Planks
There are different types of vinyl plank flooring whose difference determines the laying procedure of your planks. Some have an interlocking system, more like the tongue and groove. With these, you need to fit them ‘into each other.’
The other type has an adhesive on its bottom to stick the planks in place. All you have to do is peel off the sheet on top to reach the adhesive surface beneath.
Some companies will provide you with a primer that you’ll apply on your floor before placing your plank. The primer ensures the vinyl sticks properly and remains in place.
There are a few tricks that you can use to make your project successful with no errors.
Your vinyl planks will come in different sizes in terms of their length. You don’t want a boring design; therefore, don’t place planks of the same length adjacent to each other.

What you need to do before starting is mix the planks up, such that you’ll pick different sizes each time. Doing this will bring out an excellent design to your floor.
The other trick you need to learn is how to place them. Right from the first row, put one end touching the ground, with the other end in the air. Please pick up the next plank and interlock them.
Now lay them as a joined item on your floor. Use this technique throughout your laying.
Placing your vinyl plank flooring in this manner eliminates air pockets below the flooring. Your end product will have an uneven surface with these pockets, which isn’t desirable.
-
Level Your Vinyl Planks
Once you’re done with the installation, you’ll notice that some planks are slightly raised. This is mainly around the edges, where you left some space.
Use a pull bar to level them out. Hook the bar onto one end and spread it across your plank. Using a hammer, hit the planks lightly through the pull bar until the planks are flat.
Do this all around the perimeter of your walls. Failure to flatten the planks will allow air to enter below, and if you’ve used adhesive, it will loosen with time.
-
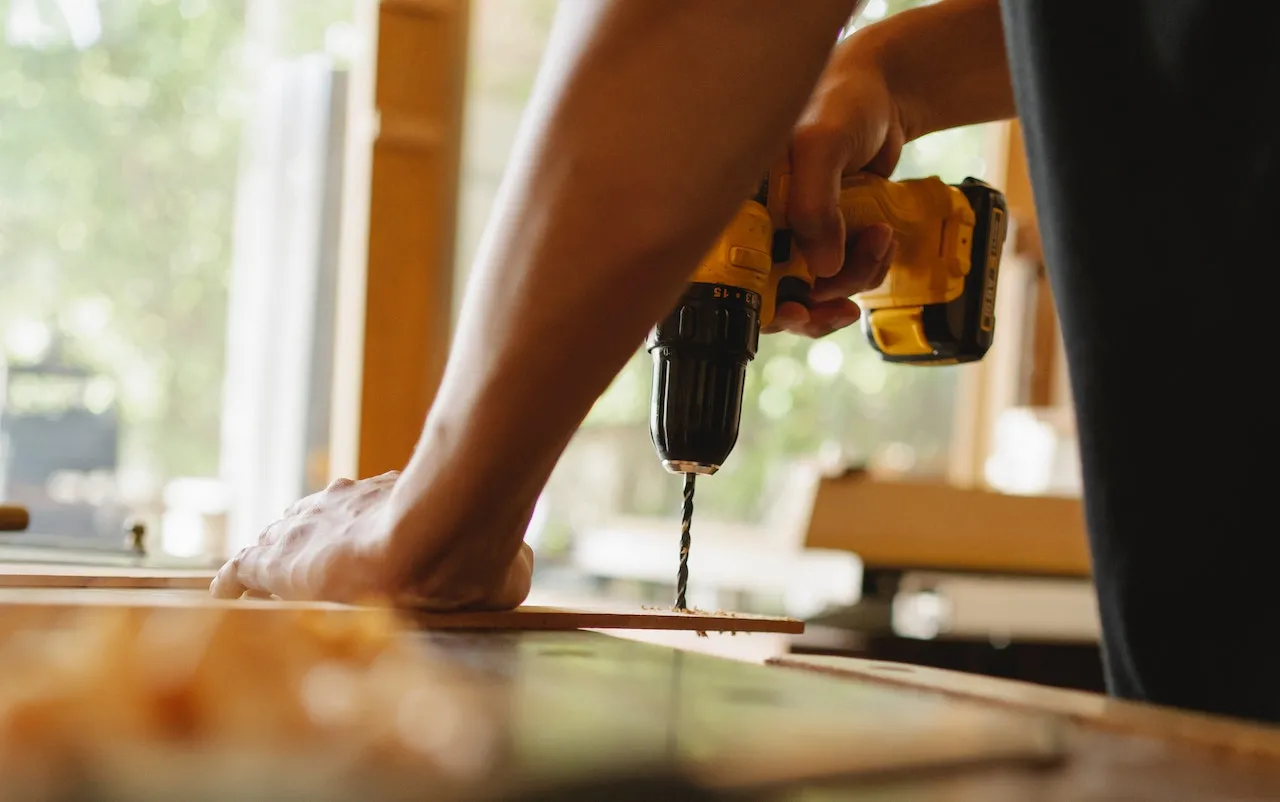
Install Moldings
Once you’re done, you need to install moldings to cover the expansion gaps you left out.
Start by putting in place a bridge molding. Lay it against the bottom of your wall while ensuring it touches a few inches of the end of the first vinyl panel. Fix it in place by nailing it to your wall. Make sure you don’t nail it to your floor, as it will strain its expansion and contraction process.
After the bridge molding is set, you need to install the shoe molding. The shoe molding works to cover the joint between the bridge molding and your vinyl plank flooring.
It more or less works as a decorative feature. Nail it in place of both the bridge and the floor. Consider using screws instead of nails.
Conclusion
This article has shown you that installing vinyl plank flooring in your home and your own isn’t challenging. Just follow the manufacturer’s guide and adopt the tricks given in this article.
As you install the floor, it’s essential to wear the right gear for your safety. Please put on a dust mask as you prepare your floor to prevent the inhalation of dust and chemicals. It would help if you also used the tools appropriately, following their manufacturers’ guides to avoid injuries.
Thank you for reading!