
How to Remove a Ceiling Fan: 2 Easy Guides (2026)
By: John Ledford | Date Posted: July 10, 2026
Table of Contents
- Tools and Materials You Need
- Step 1: Turn Off the Power
- Step 2: Remove the Fan Blades
- Step 3: Disconnect the Wiring
- Step 4: Remove the Mounting Bracket
- Step 5: Install the New Fixture or Fan
- Frequently Asked Questions[+]
- Safety Precautions for Ceiling Fan Removal
- How to Remove a Ceiling Fan When Replacing with a Light Fixture
- How to Remove a Ceiling Fan and Install a Blank Cover
- Common Mistakes to Avoid When Removing a Ceiling Fan
- Tools You Need for Ceiling Fan Removal
- How to Lower a Ceiling Fan Safely
- My Recommendation for Ceiling Fan Removal
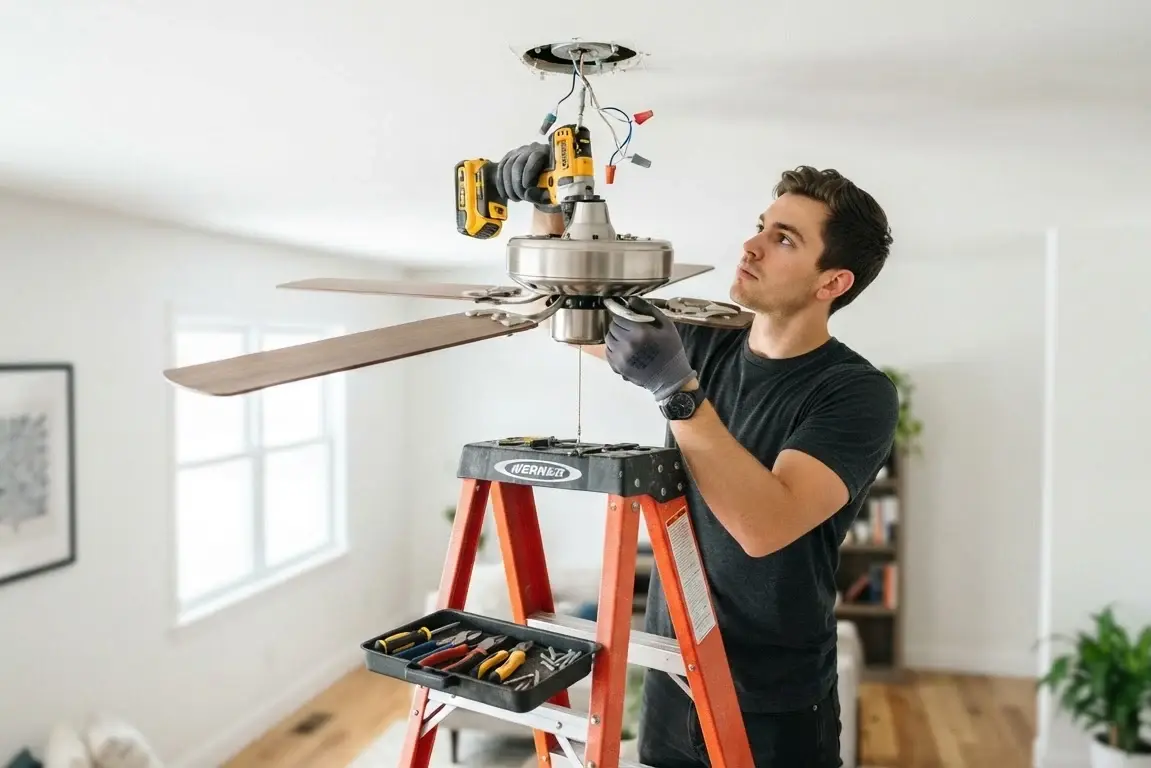
Updated July 2026. Removing a ceiling fan is a straightforward DIY project that takes about 30 to 60 minutes. The basic steps are turning off the power, removing the fan blades, disconnecting the wiring, and uninstalling the mounting bracket. I’ve removed and replaced several ceiling fans in different homes, and the process is similar for most models.
Below I’ll explain the two main methods for removing a ceiling fan, depending on whether you’re replacing it with a new fan or a light fixture.
Tools and Materials You Need
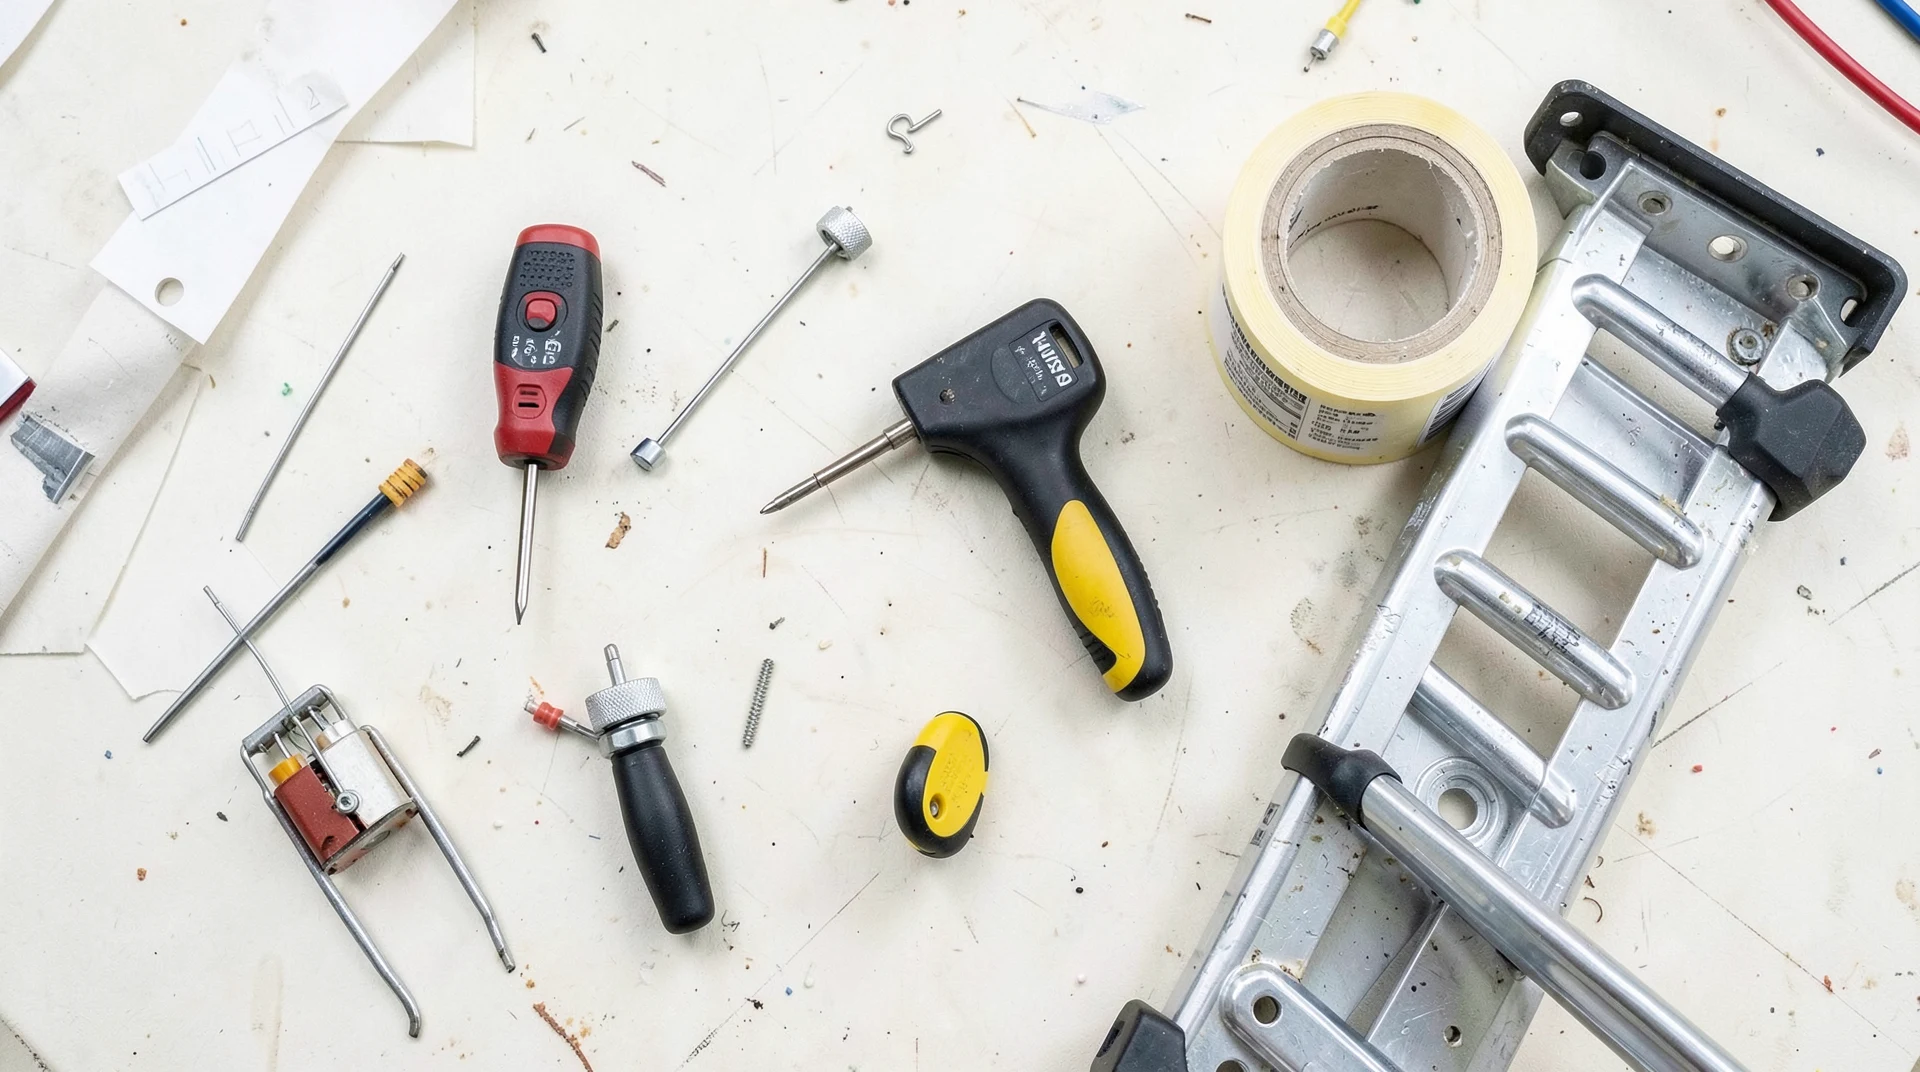
You need a screwdriver set with flathead and Phillips heads, a voltage tester, a ladder, wire connectors, wire nuts, electrical tape, a helper for supporting the fan while you disconnect it, and a drop cloth to protect the floor. The total cost of materials is about $10 to $20 if you need to buy wire connectors and electrical tape. Most of the tools are common household items.
Step 1: Turn Off the Power
Turn off the circuit breaker that powers the ceiling fan. Use a voltage tester to confirm the power is off. Test the voltage tester on a known live circuit first to make sure it’s working. Remove the fan’s light bulbs and glass shades to reduce the weight of the fan. Place the drop cloth on the floor to protect it from dust and debris.
Step 2: Remove the Fan Blades
Remove the screws that hold the fan blades to the motor housing. Most fans have 3 to 5 blades, each secured with 2 to 3 screws. Use a screwdriver or a drill with a screwdriver bit to remove the screws. Set the blades aside in a safe place. If you’re planning to reuse the fan, keep the screws with the blades.
Step 3: Disconnect the Wiring
Remove the canopy cover that conceals the wiring. The canopy is usually held in place by screws or a locking ring. Lower the canopy to expose the wiring. Use a voltage tester to confirm that the wires are not live. Disconnect the wire connectors that connect the fan wires to the ceiling wires. The wires are typically connected with wire nuts. Unscrew the wire nuts and separate the wires. There are typically three or four wires: a black or red hot wire, a white neutral wire, a green or bare ground wire, and sometimes a blue light wire. Label the wires with tape and a marker to make reinstallation easier.
Step 4: Remove the Mounting Bracket
If you’re replacing the fan with a new fan, you can leave the mounting bracket in place. If you’re replacing the fan with a light fixture, you need to remove the mounting bracket and install a new bracket for the light fixture. Remove the screws that hold the mounting bracket to the ceiling electrical box. Lower the bracket and disconnect the fan from the bracket. Some fans have a locking mechanism that needs to be released before the fan can be lowered.
Step 5: Install the New Fixture or Fan
If you’re installing a new fan, follow the manufacturer’s instructions for assembly and installation. If you’re installing a light fixture, install the mounting bracket that came with the fixture. Connect the wiring using wire nuts. Secure the fixture to the bracket. Install the light bulbs and shades. Turn the power back on and test the fixture.
Frequently Asked Questions
Do I need an electrician to remove a ceiling fan?
No, removing a ceiling fan is a DIY-friendly project. The basic steps are simple and require basic tools. However, if you’re not comfortable working with electricity, call a licensed electrician.
Can I remove a ceiling fan by myself?
It’s possible to remove a ceiling fan by yourself, but it’s easier with a helper. The fan is heavy and awkward to handle while disconnecting the wiring. A helper can support the fan while you disconnect the wires.
What do I do with the wires after removing the fan?
If you’re not installing a new fixture, cap the wires with wire nuts and tuck them into the electrical box. Install a blank cover plate over the box. The capped wires should not be live.
How long does it take to remove a ceiling fan?
Removing a ceiling fan takes about 30 to 60 minutes for someone with basic DIY skills. The time depends on the complexity of the fan and your experience level.
Written by Mike, home improvement and electrical specialist. Updated July 2026.
Safety Precautions for Ceiling Fan Removal
Safety is the most important consideration when removing a ceiling fan. Turn off the power at the circuit breaker, not just the wall switch. The wall switch may not disconnect all power to the fan. Use a voltage tester to confirm the power is off. Test the voltage tester on a known live circuit first to make sure it’s working properly. Use a sturdy ladder that is tall enough to reach the fan comfortably. The ladder should be placed on a level surface. Have a helper support the fan while you disconnect the wiring. Ceiling fans are heavy and can be difficult to handle alone. Wear safety glasses to protect your eyes from dust and debris. Wear work gloves to protect your hands from sharp edges. If the fan is located in a high ceiling, use an extension ladder and make sure it’s properly secured. If you’re not comfortable working on a ladder or with electricity, hire a professional. A licensed electrician can remove the fan and install a new fixture for about $150 to $300. The cost is reasonable for the peace of mind and safety it provides.
How to Remove a Ceiling Fan When Replacing with a Light Fixture
If you’re replacing the ceiling fan with a light fixture, the removal process is slightly different. After removing the fan blades and canopy, disconnect the wiring as described above. Remove the mounting bracket that was used for the fan. The mounting bracket is designed for the weight and movement of a fan. A light fixture needs a different type of bracket. Install the mounting bracket that came with the new light fixture. The bracket must be securely attached to the ceiling electrical box. The electrical box must be rated for the weight of the light fixture. Most ceiling electrical boxes are rated for 50 pounds, which is sufficient for most light fixtures. If the electrical box is not rated for the weight of the fixture, replace it with a box that is rated for the weight. Connect the wiring for the new fixture. The wiring is the same as the fan wiring: black or red hot wire, white neutral wire, and green or bare ground wire. Secure the fixture to the bracket. Install the light bulbs and shades. Turn the power back on and test the fixture. If the fixture doesn’t work, check the wiring connections and make sure the circuit breaker is on.
How to Remove a Ceiling Fan and Install a Blank Cover
If you’re removing the ceiling fan and not installing a new fixture, you need to cap the wires and install a blank cover plate. After removing the fan, cap the wires with wire nuts. Make sure the wire nuts are securely tightened. Wrap electrical tape around the wire nuts for extra security. Tuck the capped wires into the electrical box. Install a blank cover plate over the electrical box. The cover plate should be the same color as the ceiling. The blank cover plate is available at hardware stores for about $2 to $5. The installation is simple. The cover plate is held in place with two screws. If the electrical box is not flush with the ceiling, you may need to install a box extender to bring it flush with the ceiling surface. The box extender is a plastic ring that attaches to the electrical box and extends it to the ceiling surface. The box extender is available at hardware stores for about $5 to $10. After installing the blank cover plate, turn the power back on and test the circuit. The capped wires should not be live. If the circuit is working properly, the removal is complete.
Common Mistakes to Avoid When Removing a Ceiling Fan
Not turning off the power. This is the most dangerous mistake. Always turn off the circuit breaker and use a voltage tester to confirm the power is off. Not using a helper. Ceiling fans are heavy and awkward to handle alone. A helper makes the job safer and easier. Not labeling the wires. If you’re planning to install a new fan or fixture, labeling the wires makes reinstallation much easier. Damaging the ceiling. Be careful when lowering the fan to avoid scratching or damaging the ceiling. Use a drop cloth to protect the floor and furniture. Not checking the electrical box rating. The electrical box must be rated for the weight of the fan or fixture. If the box is not rated for the weight, it can pull out of the ceiling, causing damage and injury. By avoiding these common mistakes, you can remove your ceiling fan safely and efficiently.
Tools You Need for Ceiling Fan Removal
Having the right tools makes ceiling fan removal much easier. A screwdriver set with both flathead and Phillips heads is essential for removing the screws that hold the fan blades and canopy. A voltage tester is essential for confirming that the power is off before touching the wires. A ladder tall enough to reach the fan comfortably is important for safety. A step ladder is usually sufficient for standard 8 to 9 foot ceilings. For higher ceilings, an extension ladder may be needed. A helper is highly recommended for supporting the fan while you disconnect the wiring. A drop cloth protects the floor and furniture from dust and debris. Wire connectors or wire nuts are needed if you’re not installing a new fixture. Electrical tape is useful for labeling wires and securing wire nuts. A drill with a screwdriver bit can speed up the removal of screws. A stud finder is helpful if you need to locate ceiling joists for installing a new mounting bracket. A flashlight is useful for illuminating the wiring area. Having all the tools and materials ready before you start the project makes the process smoother and prevents unnecessary trips to the hardware store.
How to Lower a Ceiling Fan Safely
Lowering the ceiling fan after disconnecting the wiring requires careful handling. The fan is heavy and can be difficult to control. If you have a helper, have them support the fan while you disconnect the wiring. If you’re working alone, use a ladder positioned so you can support the fan with one hand while disconnecting the wiring with the other. After the wiring is disconnected, lower the fan slowly. The fan may be connected to the mounting bracket with a locking mechanism that needs to be released. Most fans have a locking pin or clip that holds the fan to the bracket. Release the locking mechanism and lower the fan. If the fan is too heavy to lower safely, remove the fan blades first to reduce the weight. The fan blades are usually secured with screws that can be removed with a screwdriver. After removing the blades, the fan body is much lighter and easier to handle. Place the fan on a drop cloth or in a box to protect it from damage. If you’re planning to reuse the fan, keep all the screws and hardware in a labeled bag.
My Recommendation for Ceiling Fan Removal
Based on my experience with ceiling fan installations and removals, I recommend having a helper assist you with the removal. The fan is heavy and awkward to handle alone, and a helper makes the job safer and easier. If you’re not comfortable working on a ladder or with electricity, hire a licensed electrician. The cost of $150 to $300 is reasonable for the safety and peace of mind it provides. If you’re removing the fan to install a new one, make sure the new fan is compatible with the existing mounting bracket and electrical box. If you’re removing the fan to install a light fixture, make sure the electrical box is rated for the weight of the fixture. With the right tools, a helper, and proper safety precautions, removing a ceiling fan is a straightforward DIY project that can be completed in about an hour.
Thank you for reading!