
7 Easy Steps on How to Fix a Stuck Shower Diverter (2026)
By: John Ledford | Date Posted: July 10, 2026
Table of Contents
- Types of Shower Diverters
- Tools and Materials You Need
- Step-by-Step Repair Process
- When to Replace Instead of Repair
- Frequently Asked Questions[+]
- Understanding How a Shower Diverter Works
- Preventing Shower Diverter Problems
- Common Shower Diverter Problems and Solutions
- Tools and Materials for Shower Diverter Repair
- My Recommendation for Shower Diverter Maintenance
- How to Remove Mineral Deposits from a Shower Diverter
- When to Call a Professional Plumber
Updated July 2026. A stuck shower diverter can be frustrating, but it’s usually fixable without calling a plumber. The most common cause is mineral buildup from hard water, which prevents the diverter from moving freely. In most cases, disassembling the diverter, cleaning it, and lubricating the moving parts will fix the problem. I’ve repaired several stuck shower diverters in my own home and in rental properties I manage.
Below I’ll explain the common types of shower diverters, the tools and materials you need, and the step-by-step repair process.
Types of Shower Diverters
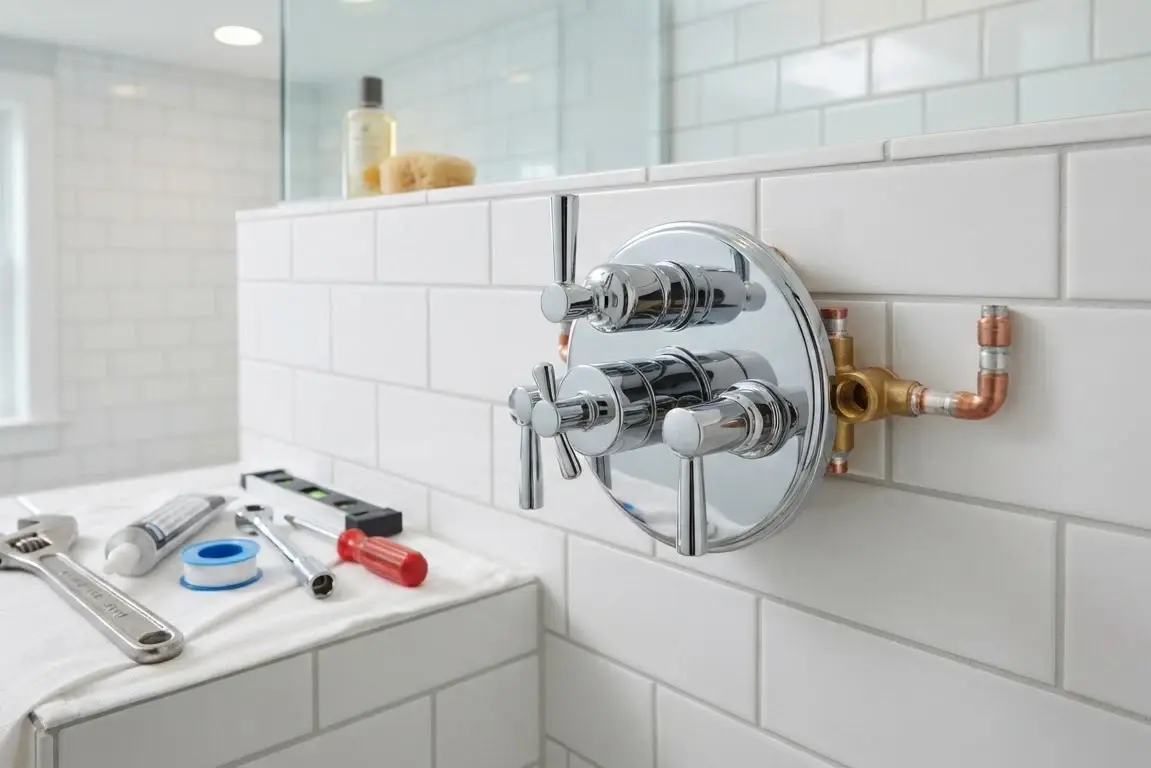
There are three main types of shower diverters. The tee diverter is the most common type, found on bathtub faucets. It has a pull-up knob on the faucet that diverts water from the tub spout to the showerhead. The two-valve diverter is found on two-handle faucets. It has a valve on the tub spout or between the handles that diverts water to the showerhead. The three-valve diverter is found on three-handle faucets. It has a central valve between the hot and cold handles that controls the water flow to the tub spout or showerhead. The repair process varies slightly depending on the type of diverter, but the basic principles are the same.
Tools and Materials You Need
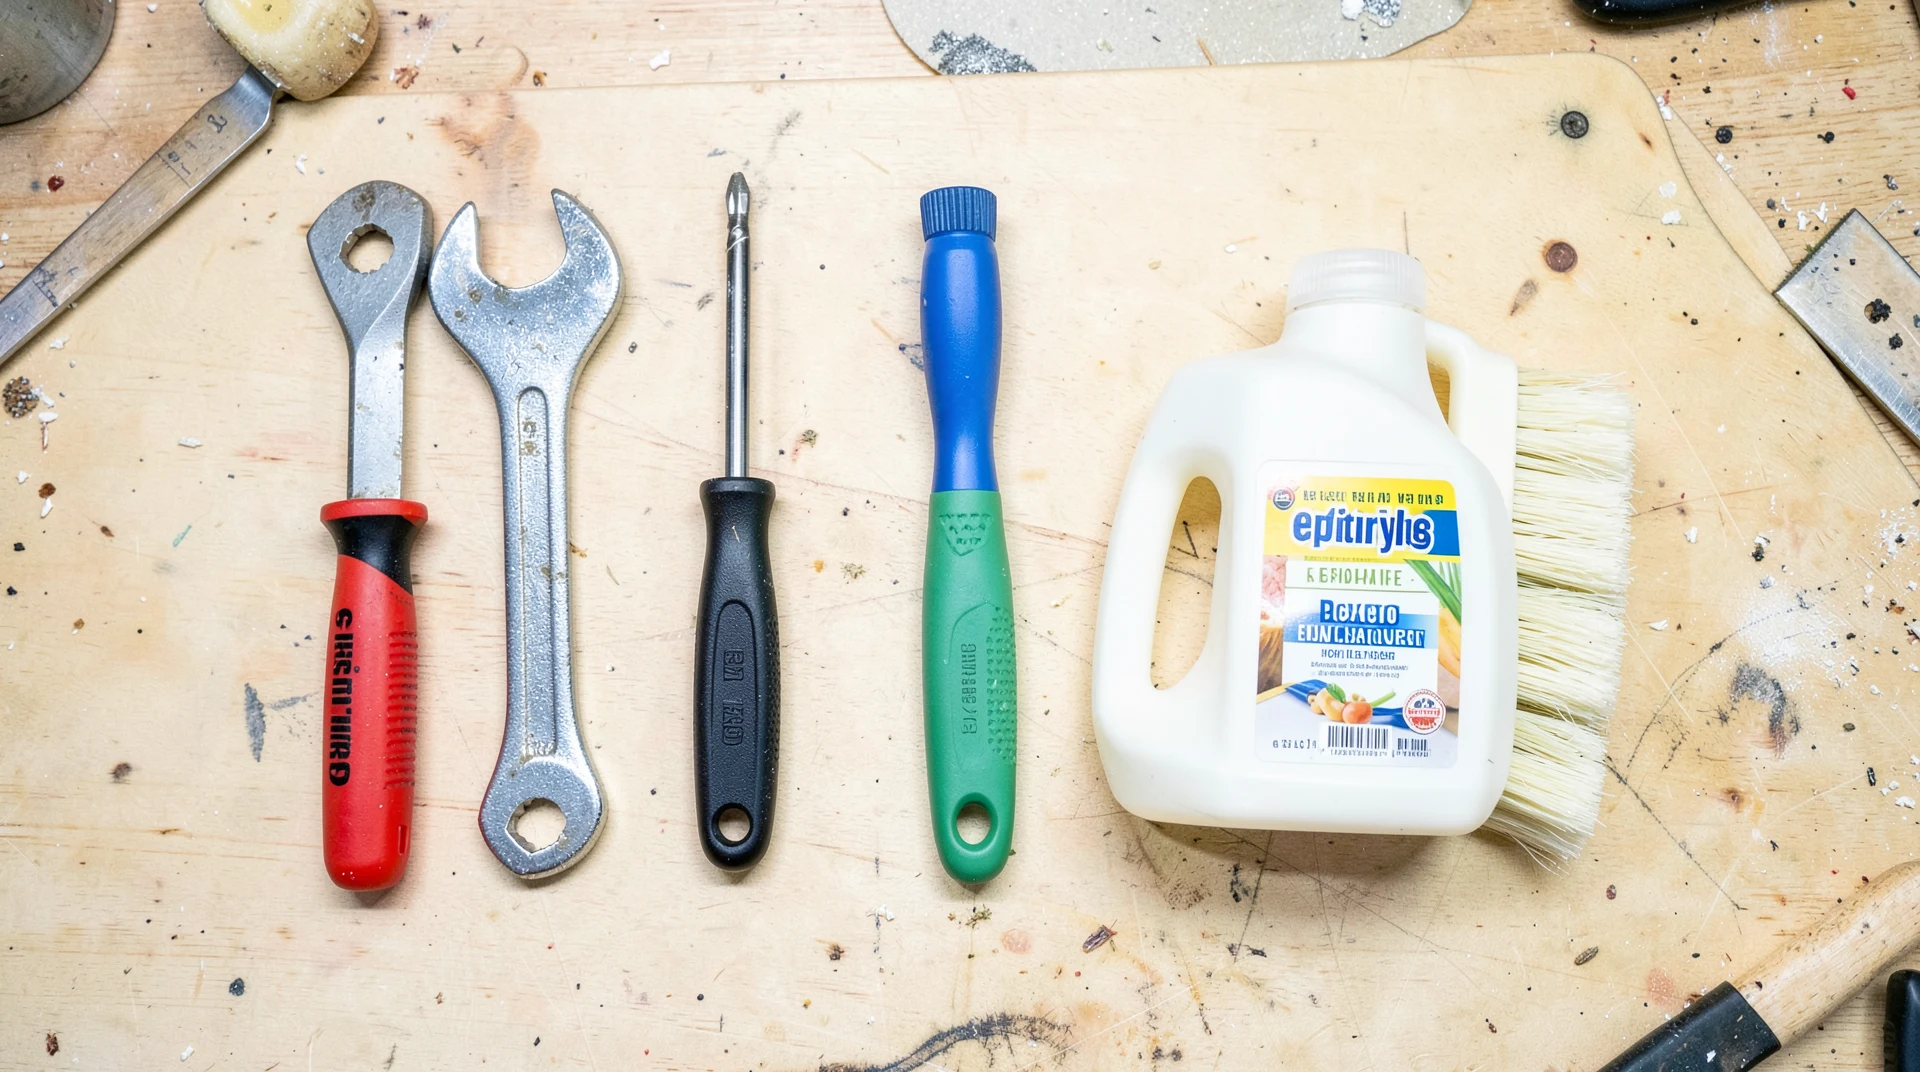
Before starting the repair, gather the following tools and materials. A screwdriver set with flathead and Phillips heads. A pair of pliers or adjustable wrench. White vinegar or a commercial descaling solution for removing mineral deposits. Silicone plumber’s grease for lubricating the moving parts. A small brush like an old toothbrush for cleaning. A bucket or towel for catching water. Penetrating oil like WD-40 for stubborn mineral deposits. Replacement parts if the diverter is damaged or worn out. The total cost of materials is about $10 to $20 if you need to buy the lubricant and descaler. Most of the tools are common household items that you probably already have.
Step-by-Step Repair Process
Step 1: Turn off the water supply. Locate the shut-off valves for the shower and turn them off. If there are no individual shut-off valves, turn off the main water supply to the house. Step 2: Remove the diverter handle or knob. Use a screwdriver to remove the screw holding the handle in place. Some handles have a set screw that requires an Allen wrench. Step 3: Remove the diverter valve or cartridge. Depending on the type of diverter, you may need to unscrew the valve body or pull out the cartridge. Step 4: Clean the diverter parts. Soak the parts in white vinegar for 30 minutes to dissolve mineral deposits. Scrub with a small brush. Step 5: Lubricate the moving parts. Apply a thin layer of silicone plumber’s grease to the O-rings and moving parts. Step 6: Reassemble the diverter. Install the cleaned and lubricated parts in reverse order. Step 7: Turn the water back on and test the diverter. If the diverter works smoothly, the repair is complete. If it’s still stuck, you may need to replace the diverter cartridge or valve.
When to Replace Instead of Repair
Sometimes the diverter is too damaged or worn to repair. If the diverter is leaking, the O-rings may be damaged and need replacement. If the diverter is making noise or vibrating, the internal parts may be worn out. If the diverter is still stuck after cleaning and lubricating, the internal mechanism may be damaged. In these cases, replacing the diverter cartridge or valve is the best option. Replacement cartridges are available at hardware stores and home improvement centers. The cost of a replacement cartridge is typically $10 to $30. If the entire diverter assembly needs to be replaced, the cost is $30 to $100 depending on the type and brand.
Frequently Asked Questions
Why is my shower diverter stuck?
The most common cause is mineral buildup from hard water. The minerals accumulate on the moving parts and prevent them from moving freely. Cleaning the diverter usually solves the problem.
Can I use WD-40 on a shower diverter?
WD-40 can be used to loosen a stuck diverter, but it should not be used as a long-term lubricant. Use silicone plumber’s grease for lubrication after cleaning.
Do I need to call a plumber for a stuck shower diverter?
In most cases, you can fix a stuck shower diverter yourself. The repair process is straightforward and requires basic tools. Call a plumber only if the diverter is damaged or if you’re not comfortable working on plumbing.
How often should I clean my shower diverter?
If you have hard water, clean the diverter every 6 to 12 months to prevent mineral buildup. Regular cleaning prevents the diverter from getting stuck and extends its lifespan.
Written by Mike, home improvement and plumbing specialist. Updated July 2026.
Understanding How a Shower Diverter Works
A shower diverter is a simple mechanical valve that redirects water flow from the bathtub spout to the showerhead. When the diverter is in the closed position, water flows out of the tub spout. When you lift the diverter knob or turn the diverter valve, it redirects the water up to the showerhead. The diverter contains a rubber or plastic seal that blocks the water from flowing out of the tub spout and forces it up to the showerhead. Over time, this seal can become worn or covered with mineral deposits, causing the diverter to leak or become difficult to operate. The diverter mechanism is typically made of brass or plastic. Brass diverters are more durable and resistant to mineral buildup. Plastic diverters are less expensive but may wear out faster. The diverter is connected to the water supply pipes using threaded connections or compression fittings. The diverter can be repaired by cleaning the internal parts, replacing worn seals, or replacing the entire diverter cartridge.
Preventing Shower Diverter Problems
Preventive maintenance can extend the life of your shower diverter and prevent problems. If you have hard water, install a water softener to reduce mineral buildup. Clean the diverter every 6 to 12 months by removing the handle and cleaning the internal parts. Lubricate the moving parts with silicone plumber’s grease during cleaning. Avoid using excessive force when operating the diverter. If the diverter is difficult to move, clean and lubricate it rather than forcing it. Forcing the diverter can damage the internal mechanism. Use the diverter regularly to keep the moving parts from seizing up. If you have a guest bathroom that is rarely used, operate the diverter every few months to keep it moving freely. Install a showerhead with a built-in diverter shut-off if you want to reduce the use of the main diverter. A showerhead shut-off valve allows you to stop the water flow at the showerhead without using the main diverter, reducing wear on the diverter mechanism.
Common Shower Diverter Problems and Solutions
The diverter won’t move. This is usually caused by mineral buildup. Remove the handle and clean the diverter mechanism with vinegar. If the diverter still won’t move, apply penetrating oil and let it sit for 30 minutes before trying again. The water still comes out of the tub spout when the diverter is engaged. This is usually caused by a worn or damaged seal. The seal inside the diverter is not blocking the water flow properly. The solution is to replace the diverter cartridge or the seal. The water comes out of both the tub spout and the showerhead. This is also caused by a worn or damaged seal. The diverter is not fully blocking the water flow to the tub spout. Replace the diverter cartridge or seal. The diverter is making a whistling or squealing noise. This is caused by water flowing through a partially blocked diverter. The blockage is usually mineral deposits. Clean the diverter to remove the deposits. The diverter leaks water when not in use. This is caused by a worn seal or a loose connection. Tighten the connections and replace the seal if necessary. Most of these problems can be fixed with basic tools and a small investment in cleaning supplies or replacement parts.
Tools and Materials for Shower Diverter Repair
For most shower diverter repairs, you need the following tools and materials. A screwdriver set with both flathead and Phillips heads for removing the handle. A pair of pliers for gripping and turning the diverter body. An Allen wrench set if the handle has a set screw. White vinegar for dissolving mineral deposits. A small brush for cleaning the internal parts. Silicone plumber’s grease for lubricating the O-rings and seals. A replacement diverter cartridge if the original is damaged. A bucket or towel for catching water that may drip out when you remove the diverter. The total cost of the materials is about $10 to $20. The tools are common household items. If you need to buy a replacement cartridge, the cost is $10 to $30 depending on the brand and model. Having the right tools and materials ready before you start the repair makes the process smoother and prevents unnecessary trips to the hardware store.
My Recommendation for Shower Diverter Maintenance
Based on my experience with plumbing repairs, I recommend cleaning your shower diverter every 6 to 12 months as preventive maintenance. The cleaning process takes about 30 minutes and can prevent the diverter from getting stuck. If your diverter is already stuck, try cleaning it before replacing it. In most cases, cleaning solves the problem. If the diverter is damaged or worn, replace the cartridge rather than the entire diverter assembly. The cartridge is less expensive and easier to replace. If you’re not comfortable working on plumbing, call a professional plumber. The cost of a service call is about $100 to $200, which is reasonable for a repair that can prevent water damage from a leaking diverter.
How to Remove Mineral Deposits from a Shower Diverter
Mineral deposits are the most common cause of shower diverter problems. The minerals in hard water, primarily calcium and magnesium, accumulate on the moving parts of the diverter over time. These deposits create friction that makes the diverter difficult to move and can eventually cause it to seize completely. The most effective way to remove mineral deposits is to soak the diverter parts in white vinegar. The acetic acid in vinegar dissolves the mineral deposits without damaging the metal or plastic parts. Remove the diverter handle and valve cartridge. Place the parts in a container filled with white vinegar. Let them soak for 30 minutes to 1 hour. For heavy deposits, soak overnight. After soaking, scrub the parts with a small brush to remove any remaining deposits. Rinse the parts with clean water and dry them. Apply silicone plumber’s grease to the O-rings and moving parts before reassembling. If you don’t have white vinegar, you can use a commercial descaling solution like CLR or Lime-A-Way. These products are more potent than vinegar and work faster, but they are also more expensive and contain stronger chemicals. Follow the manufacturer’s instructions when using commercial descalers. After cleaning and reassembling the diverter, test it to make sure it works smoothly. If the diverter is still difficult to move, the mineral deposits may have damaged the internal mechanism, and you may need to replace the cartridge.
When to Call a Professional Plumber
While most shower diverter repairs are DIY-friendly, there are situations where you should call a professional plumber. If the diverter is part of a larger plumbing system that requires specialized knowledge, such as a mixing valve or thermostatic valve, call a professional. If you’ve tried cleaning and lubricating the diverter and it’s still stuck, the internal mechanism may be damaged and require replacement. If you’re not comfortable working on plumbing, call a professional. The cost of a service call is about $100 to $200, which is reasonable for a repair that can prevent water damage. If the diverter is leaking and causing water damage to the wall or ceiling, turn off the water supply and call a plumber immediately. Water damage can be expensive to repair, and a quick response can prevent further damage. If you need to replace the entire diverter assembly, which requires soldering or cutting into the water supply pipes, call a professional plumber. This type of repair requires specialized tools and experience.
Thank you for reading!