
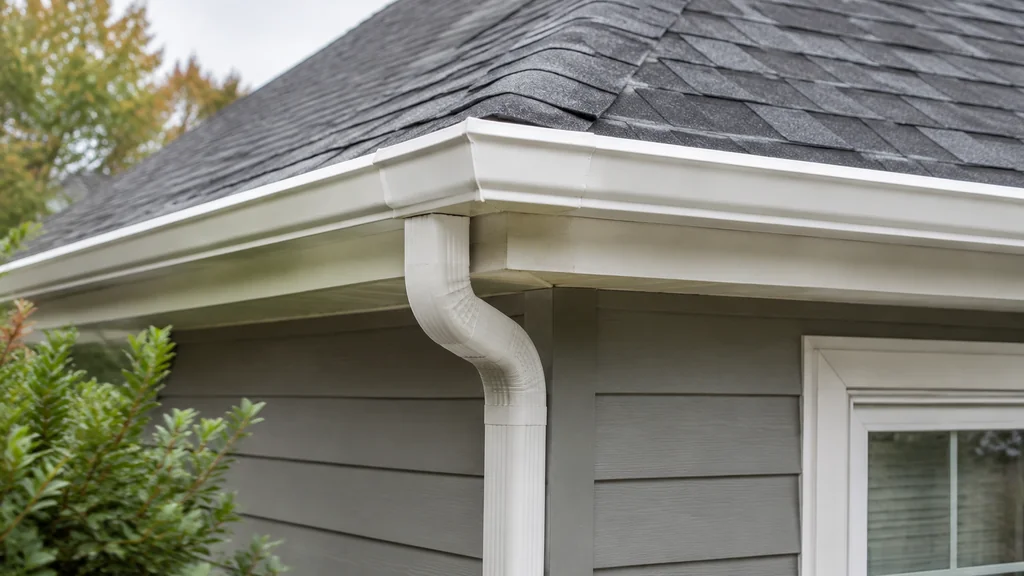
Gutter Miters and Corners: Cutting and Sealing Them Right
By: John Ledford | Date Posted: October 13, 2026
Table of Contents
A gutter miter is the joint where two gutter runs meet at a corner, and it fails for two reasons: the cut is not square and true, or the seal is too thin to survive thermal movement. Cut the miter on a power miter saw with a fine-tooth blade, dry-fit it, rivet or screw the seam, then seal it with gutter-grade sealant on a clean, dry surface. That sequence is the whole job.
Measure the Corner Before You Cut Anything
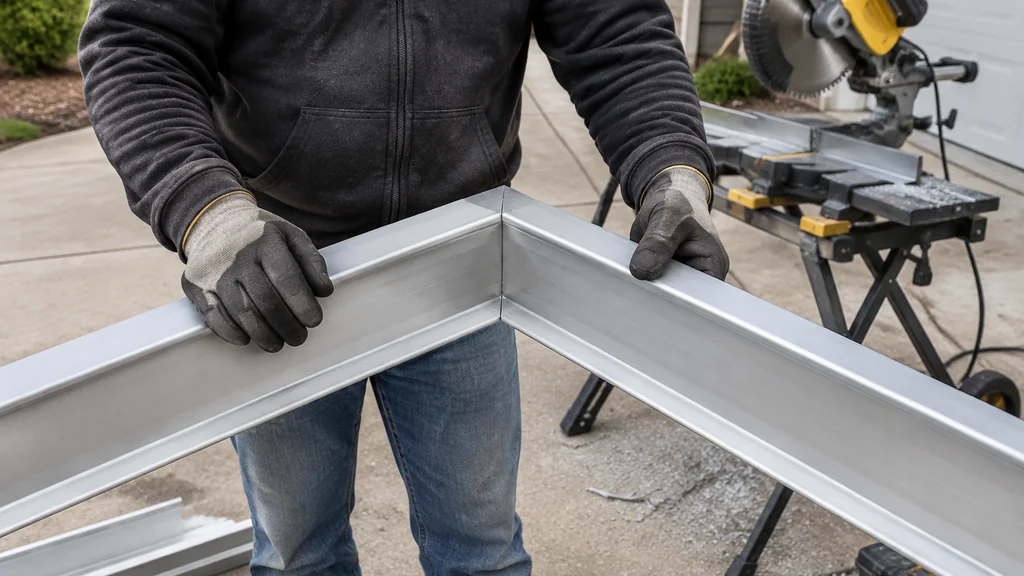
Most corners on a house are not a true 90 degrees. Walk the run and check it with a framing square or an angle finder before you buy or cut material. A corner that reads a few degrees off will open a gap at the back of the miter that no sealant will hold for long.
Mark the direction of flow too. Water has to leave the corner and head for the downspout, so the miter sits at the high or low end of a slope, never flat. If you are still sorting out pitch, the numbers in this guide to correct rain gutter slope make the fall per foot easy to set before the corner goes on.
Decide the joint type first:
- Strip miter: a flat plate riveted inside the corner, used on site-built corners.
- Pre-made corner: a factory-formed 90 or custom angle, faster but you still seal it.
- Seamless run with a fabricated corner: the pro route, needs a brake and a crimper.
For a homeowner with a hacksaw and a drill, the strip miter or a pre-made corner is the realistic choice.
Cutting the Miter Cleanly
The cut is where most of these joints go wrong. A hacksaw wanders. A dull blade burrs the edge and the burr holds the two halves apart.
- Measure from the corner to the end of each run and mark the cut line with a fine marker, wrapping the mark around the gutter so it stays square.
- Support the gutter on scrap wood so the metal does not flex while you cut.
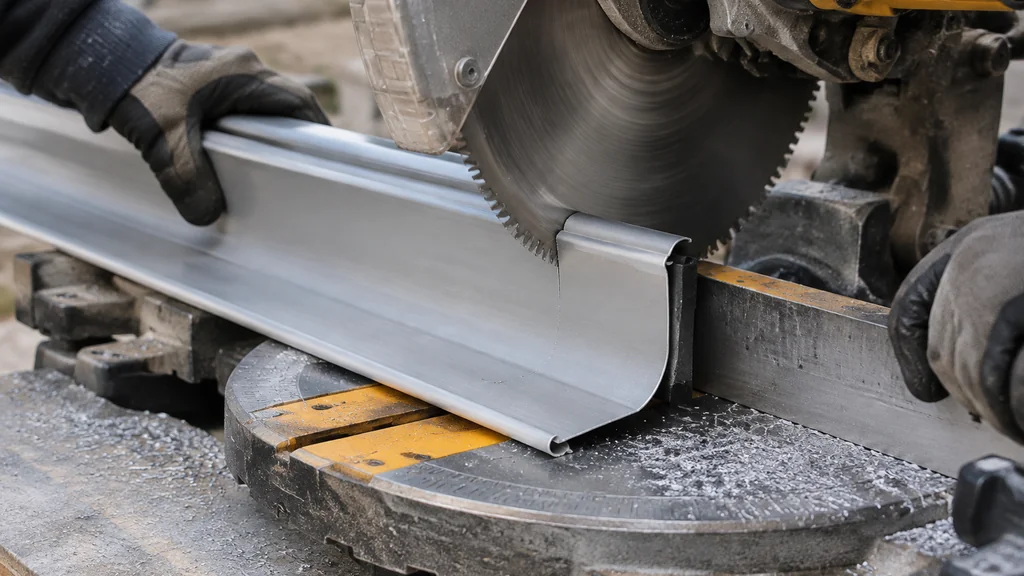
- Cut with a power miter saw fitted with a fine-tooth carbide blade, or a hacksaw with a fresh blade if that is what you own. Cut slowly and let the blade do the work.
- Deburr both cut edges with a fine file, then wipe the inside of the gutter with a clean rag.
- Dry-fit the two pieces at the corner and check the gap with a light behind it. Any light means recut.
- Drill the rivet or screw holes through both walls, keeping them away from the bottom edge where water sits.
- Set the fasteners, then seal the seam.
Aluminum cuts fast and grabs the blade, so clamp the work. Steel gutter is heavier and wants a slower feed. Copper cuts clean but costs enough that you measure twice.
Sealing the Corner So It Stays Sealed
Sealant choice matters more than technique here. Use a gutter and flashing sealant rated for metal, not a general-purpose silicone from the paint aisle. The joint moves with temperature, and a stiff seal cracks at the first hard freeze.
Clean the seam area with a solvent wipe and let it dry completely. Sealant will not bond to a damp or oily surface, and gutter interiors are almost always dirty.
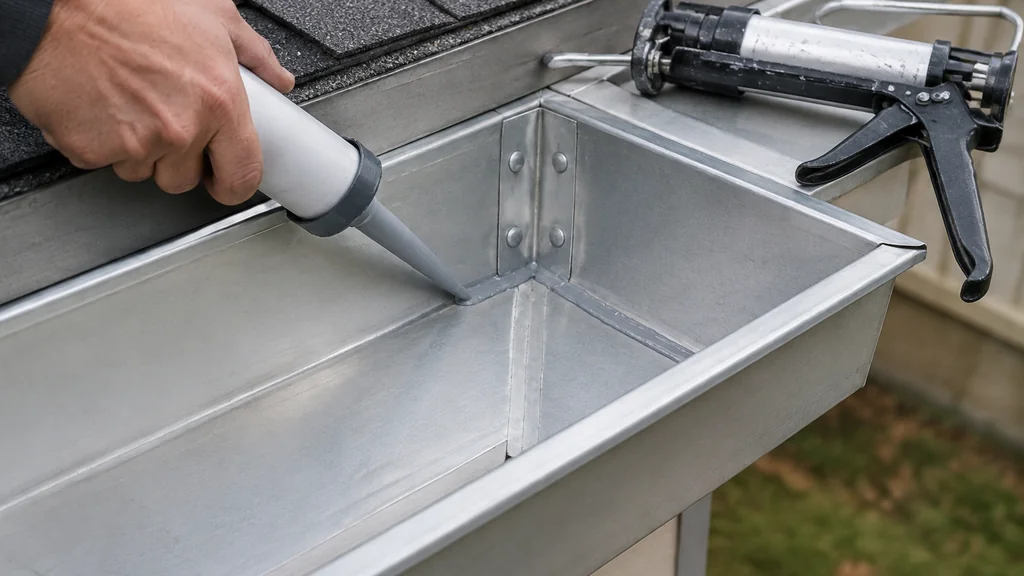
Apply a bead along the inside of the seam, then work it into the joint with a finger or a small paddle. A thin bead spread wide holds better than a thick blob sitting on top. Seal the inside of the joint first, then a small bead on the outside edge.
If you are riveting, set the rivets before the sealant so the metal is locked in place. If you are using screws, the same order applies. Self-tapping screws with a hex head and a sealing washer are common on gutter work, and a driver bit for Phillips or Torx heads keeps you from stripping them.
Give the sealant its full cure time before water hits it. Check the label. Rain on a half-cured joint is how a corner leaks the same week you fixed it.
Fasteners, Hangers, and the Corner’s Weak Spot
The corner is the heaviest loaded point in the run because two lengths of gutter and their water meet there. Hangers near the corner carry that load. If the hanger spacing is loose at the corner, the joint sags, the seal stretches, and you get a drip at the back edge.
The comparison of gutter nails, spikes and hidden hangers is worth reading before you hang the run, because the fastener you choose at the corner decides how much movement the miter sees. Hidden hangers with screws into the fascia hold better than spikes driven into the roof edge, and they let you fine-tune the pitch after the corner is on.
Two more details that save a callback:
- Keep the sealant bead off the bottom of the gutter where water runs, or it will trap debris.
- Leave a small expansion gap at the miter on long runs in cold climates, since aluminum moves a lot between a January morning and a July afternoon.
When the Leak Is Not the Miter
Not every drip at a corner comes from the miter itself. Water can track along the fascia, run down the back of the gutter, or overflow from a clogged outlet and show up at the corner. Before you cut anything out, check the obvious sources. This breakdown of gutter leaking causes by location walks through where the water actually starts, and it saves you from resealing a joint that was never the problem.
If the corner is fine and the leak is at a seam mid-run, the same cut-and-seal method applies. If the leak is at a hanger, tighten the fastener and recheck the pitch.
Tools and Materials That Make This Easier
You do not need a truck full of gear. What you need:
- Fine-tooth carbide blade or a fresh hacksaw blade
- Power miter saw or a miter box for square cuts
- Fine file for deburring
- Drill with a bit sized for your rivets or screws
- Pop rivet gun, or a driver with Phillips or Torx bits
- Gutter and flashing sealant rated for metal
- Solvent wipe and clean rags
- Framing square or angle finder
A pair of tin snips will get you through one corner in a pinch, but the cut edge curls and the seam will not sit flat. If you are doing more than a couple of corners, the miter saw pays for itself in one afternoon.
When to Call a Pro
A single corner on a low, reachable run is a weekend job. Call someone when the work is above the first story, when the gutter is copper or half-round, or when the fascia behind the corner is rotted. Rot means the hanger has nothing to bite into, and no amount of sealant fixes a soft board.
Also call a pro if the run is seamless and the corner has to be fabricated on site. That needs a brake, a crimper, and a truck. On a two-story house, ladder work alone is the reason to hand it over.
Gutter Miters and Corners FAQ
Why does my gutter corner keep leaking after I seal it?
The seal is usually failing because the joint moves, not because the sealant is bad. Check that the hangers near the corner are tight and that the miter is not carrying the weight of two runs. Clean the seam, reset the fasteners, and reseal with a metal-rated gutter sealant.
Can I use silicone caulk on a gutter miter?
A metal-rated gutter and flashing sealant holds up better than general-purpose silicone. Silicone can work on a clean, dry joint, but it skins over fast and does not tolerate movement as well. Check the label for metal compatibility before you buy.
Do I need to rivet a gutter corner, or will screws work?
Both work. Rivets pull the two halves tight and do not back out, which is why they are common on aluminum. Screws with sealing washers let you adjust later. The important part is setting the fastener before the sealant, so the metal is locked when the bead goes on.
How long should sealant cure before it rains?
Follow the cure time on the label, and add time in cold or damp weather. A half-cured joint will wash out in the first hard rain. If rain is coming, cover the corner with a scrap of plastic and tape it off until the sealant sets.
Can I cut a gutter miter with tin snips?
You can, but the edge curls and the two halves will not sit flat against each other. A fine-tooth blade on a miter saw or a fresh hacksaw blade gives a square edge that seals. If snips are all you have, file the edge flat before you dry-fit.
Thank you for reading!