
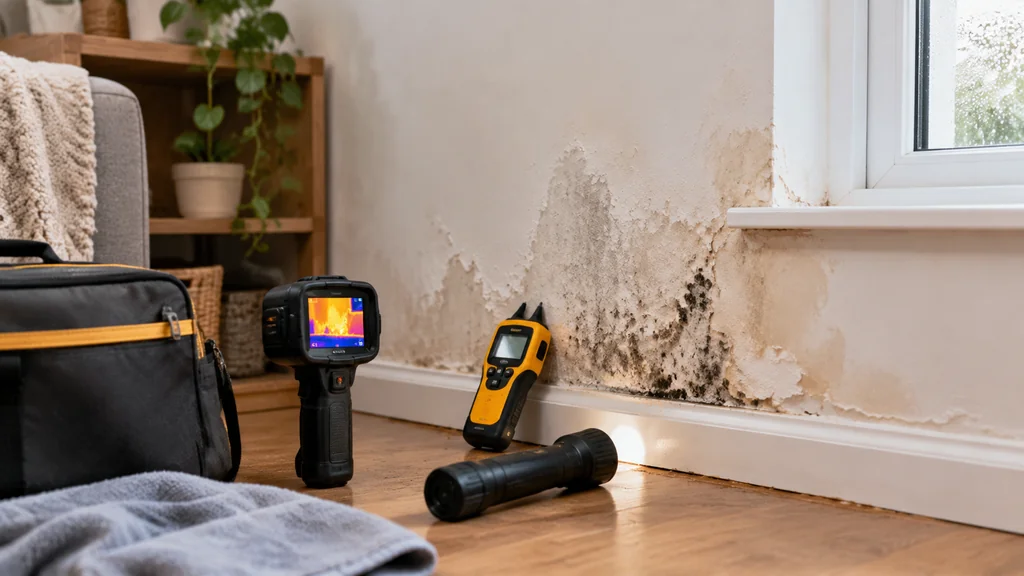
How to Find the Source of Moisture in Your Home (Complete Guide)
By: John Ledford | Date Posted: November 10, 2026
Table of Contents
- Start Outside and Work Your Way In
- The Tools That Make a Damp Wall Diagnosis Honest
- Read the Pattern Before You Test Anything
- The Main Procedure: Tracing the Source Step by Step
- What Each Result Actually Means
- The Mistakes That Send People Down the Wrong Path
- When to Stop and Call a Professional
- Drying Out and Stopping It Coming Back
- Moisture Source in Home FAQ[+]
A moisture source in the home is found by working from the outside in and from the top down, then testing each suspect with a meter and a simple isolation check. You narrow the damp wall diagnosis to one of four causes: a leak from plumbing or the roof, water getting in through the building envelope, condensation from humid air, or water rising from the ground. Once you know which one you are dealing with, the fix stops being guesswork.
Most people start by staring at the wet patch and guessing. That is the slow way. The fast way is to rule out the biggest water carriers first.
Start Outside and Work Your Way In
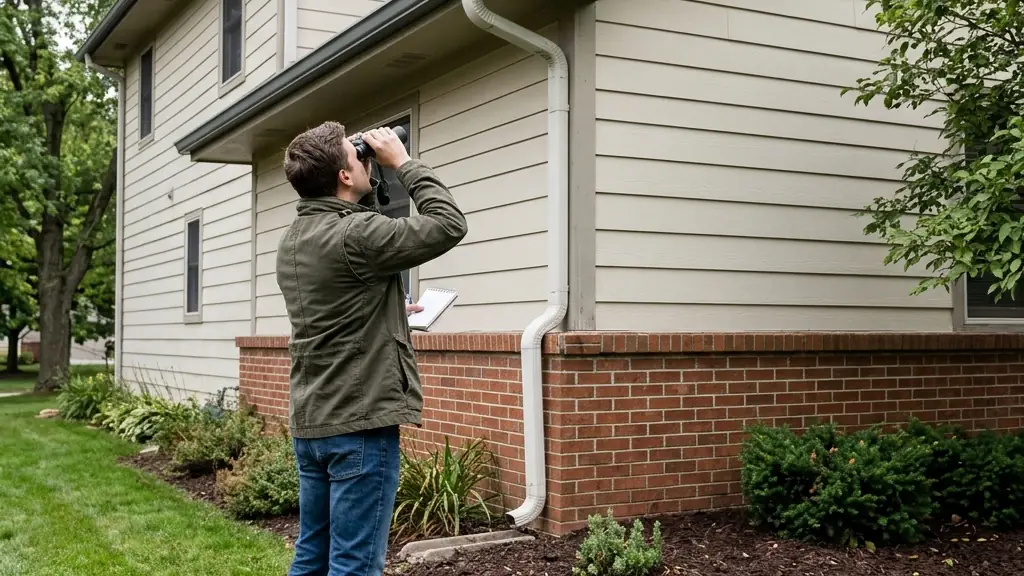
Before you touch anything indoors, walk the perimeter of the house. Walk the perimeter before investigating the interior wall. Check for possible sources outside the building.
Look at the roof from the ground with binoculars. Check the gutters for sagging, overflow stains and loose hangers. If you are weighing K-Style vs Half-Round Gutters, compare how each profile handles roof runoff and fits the building. Look at the downspouts too. A downspout that dumps water right against the foundation directs water toward the wall.
Check the ground slope. Soil should fall away from the wall. If mulch is piled above the siding or the brick ledge, that is a wick. Pull it back and look for a stain line on the foundation.
On the roof itself, look for missing shingles, cracked flashing around chimneys and skylights, and dark streaks that suggest water is running under the surface. A blocked downspout makes it worse, and a bird guard for the gutter downspout keeps nests from choking the flow in spring. In cold regions, also consider whether gutter guards cause or prevent ice dams, since blocked drainage can affect roof-edge icing.
Write down what you see. You are recording possible causes before making repairs.
The Tools That Make a Damp Wall Diagnosis Honest
You do not need a van full of gear. A few inexpensive tools turn guesswork into evidence. Here is what earns its place in the toolbox.
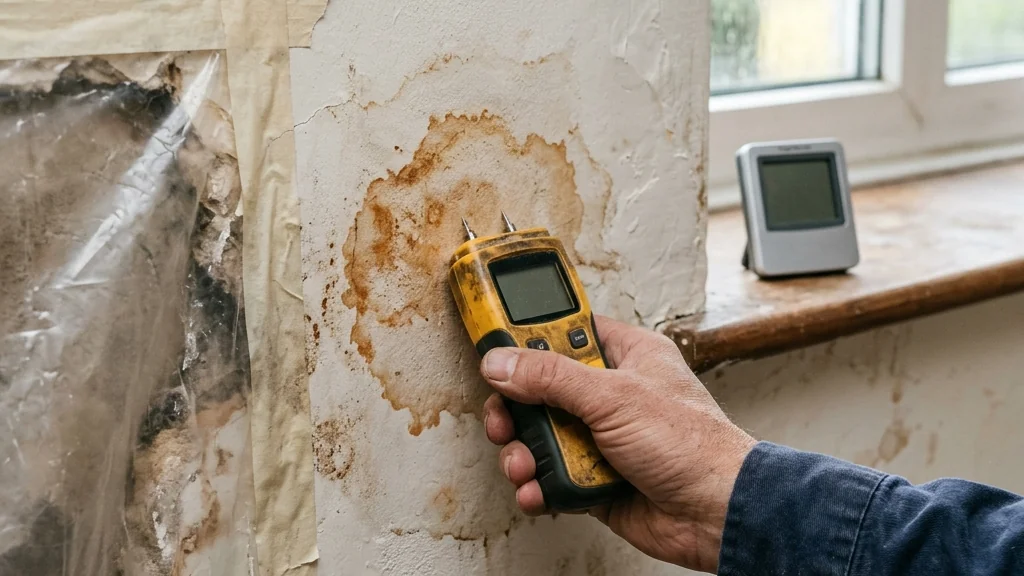
- A pin-type moisture meter. These drive two small pins into wood, drywall or plaster and read the moisture content. They are the workhorse for tracking a stain back to its edge.
- A pinless meter. It scans through tile and behind surfaces without making holes. Useful when you do not want to damage a finish.
- A hygrometer. This reads relative humidity and temperature in a room. It tells you whether the air itself is the problem.
- A cheap infrared thermometer. Point it at a wall and compare readings. A cold patch often means hidden moisture or a gap in insulation.
- A flashlight and an awl. The awl probes soft, rotted wood. If it sinks in easily, the material is already compromised.
- Plastic sheeting and tape. A simple test kit for condensation, explained below.
A moisture meter can help compare readings across a damp patch and a known-dry area. Read the instructions and take readings in several spots, including a known-dry area for comparison. Check the spec sheet for what your meter measures, since some read wood only and some read building materials.
Read the Pattern Before You Test Anything
The shape and position of the damp patch tells you a lot before you pick up a tool. Learn to read it.
Damp at the bottom of a wall, with a tide mark. This points to water rising from the ground or wicking up through the foundation. It is common in older homes without a proper damp course.
Damp at the top of a wall or on a ceiling. Look up. Roof leaks, blocked gutters and failed flashing show up high first.
Damp around a chimney or skylight. Flashing is the usual culprit. Water gets behind it and travels sideways inside the wall.
Damp in a band along the middle of a wall, often with bubbling paint. This can be condensation on a cold spot, or a pipe running behind the plaster.
Damp near a window or door. Failed seals, blocked weep holes and poor drainage around the frame.
Damp in a bathroom or kitchen, high up. Usually condensation from steam, especially in a room with poor ventilation.
Damp that appears after rain. The envelope is leaking. Damp that appears in cold weather regardless of rain. Condensation is the likely cause.
Take a photo of each patch with something for scale. Compare photos over a couple of weeks. A patch that grows after every storm is telling you something different from one that grows on still, cold mornings.
The Main Procedure: Tracing the Source Step by Step
This is the sequence I use. Work through it in order and stop when the meter confirms you have found the source.
- Map the damp. Sketch each wet patch on a simple floor plan, note the date, and mark which ones grow after rain. This gives you a timeline.
- Do the outside walk. Check roof, gutters, downspouts, ground slope and any penetrations like vents and pipes. Note anything that directs water at the wall.
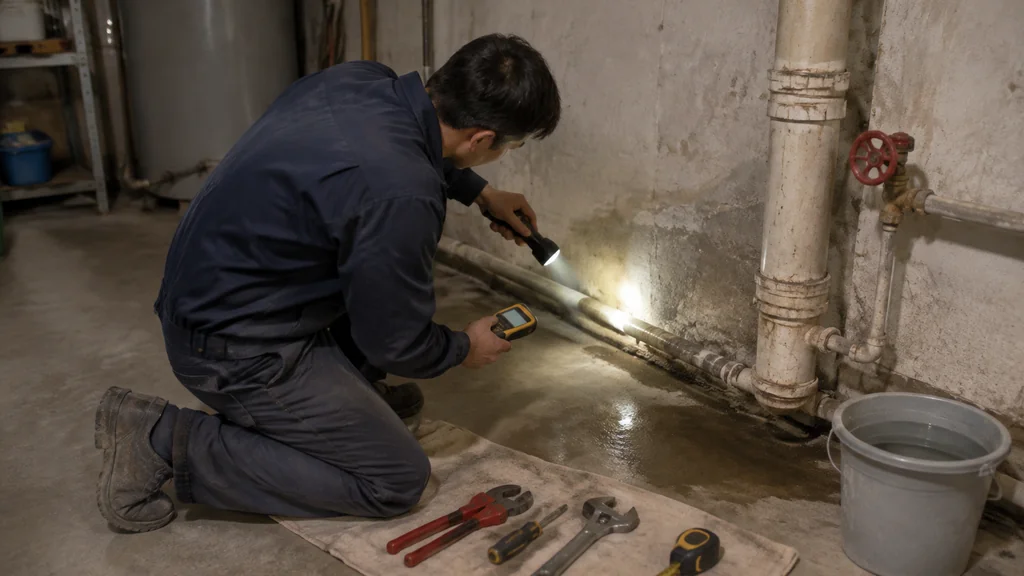
- Isolate the plumbing. Turn off every tap and appliance that uses water, then watch the water meter. If the dial still moves, you have a supply leak. For suspected drains, run dye down a fixture and see if it shows up in the damp patch.
- Test for condensation. Tape a square of plastic sheeting over the damp patch, sealing all four edges. Leave it a day or two. Water beads on the room side of the plastic means humid air is condensing.
- Scan with the meter. Take readings across the patch and outward until you find the dry edge. The direction the readings fall away points toward the source. Follow it up, down and sideways.
- Check the cold spots. Use the infrared thermometer on exterior walls and corners. A cold band often lines up with a gap in insulation or a thermal bridge, and that is where condensation will form first.
- Confirm and record. Once the meter and the pattern agree, write down the source and the evidence. Then plan the repair.
The plastic test helps distinguish condensation from moisture coming through the wall. Tape the sheet over the damp patch and compare where water collects.
What Each Result Actually Means
Once you have data, match it to a cause. Each cause has a signature.
A supply leak. The meter reads high in a line or a spot that does not match the weather. The water meter moves when everything is off. Fix the pipe before you repair the plaster, or the stain comes back.
A drain or waste leak. Damp appears near a bathroom, kitchen or soil stack. It often smells. Dye down the fixture confirms it.
A roof or envelope leak. Damp grows after rain, usually high on the wall or on a ceiling. The meter tracks it back toward the roofline or a window.
Condensation. The plastic test shows beads on the room side. The hygrometer reads high humidity. It gets worse in cold weather and in rooms with poor airflow, like bathrooms and kitchens.
Rising damp. A low tide mark, often with salts blooming on the plaster. It is less common than people think, and it is often confused with water running down from a higher leak. Check high up before you accept a rising damp diagnosis.
Check that downspouts discharge well away from the foundation and that the ground falls away.
Getting the diagnosis right is what saves the money.
The Mistakes That Send People Down the Wrong Path
Repainting over the stain. Paint traps moisture and the stain returns within months. Fix the source first, then let the wall dry, then repaint.
Assuming every damp patch is rising damp. It is the favourite diagnosis of people selling damp-proofing. Check the roof and the plumbing first.
Ignoring the gutters. A blocked or leaking gutter can direct water toward the wall. Clean them, check the fall, and make sure the downspouts carry water away from the wall.
Sealing a wall that needs to breathe. Modern sealants on old solid walls can trap water and make things worse. Check what your wall is built from before you seal anything.
Testing in the wrong weather. A meter reading taken in a dry spell can miss a leak that only shows in a storm. Test again after rain.
Skipping the loft and the crawl space. Water travels. Inspect the areas above and below the damp patch as well as the patch itself.
When to Stop and Call a Professional
Some jobs are worth your weekend. Others are worth a phone call. Call a pro when:
- You suspect a leak inside a wall or under a floor and cannot find it with a meter.
- The damp is near electrical fittings, a consumer unit or gas appliances.
- You have a persistent leak you cannot trace after a full outside walk and the plastic test.
- The wall is structurally soft, crumbly or bowing.
- You are dealing with a shared wall in an apartment or a party wall.
- The repair involves the roof covering, and you are not confident on a ladder.
A good damp surveyor or plumber will use the same tools and logic you just did, but faster and with better kit. The value is in the diagnosis, so ask them to explain what they found and why.
Drying Out and Stopping It Coming Back
Once the source is fixed, the wall has to dry. Open windows on dry days, run a dehumidifier in the affected room, and keep the heating steady. Do not re-plaster or repaint until the meter reads dry against a known-dry reference.
Then close the loop. Clear the gutters each autumn. Check the downspouts after storms. Keep the ground falling away from the foundation. Vent bathrooms and kitchens properly. Fix dripping taps before they become leaks.
Moisture Source in Home FAQ
How do I know if damp is condensation or a leak?
Water beading on the room side of a taped plastic sheet means condensation, while water collecting behind the sheet against the wall means the moisture is coming through the wall. A hygrometer reading high humidity in the room supports the condensation answer. The plastic test is the quickest way to tell them apart.
Where is moisture most likely coming from in a house?
Possible sources include the roof, gutters, downspouts, plumbing leaks and failed seals around windows and doors. Start the search at the roofline and work down.
Can a moisture meter find a leak behind a wall?
A pinless moisture meter can scan through drywall and tile and show a wet patch behind the surface without making holes. A pin-type meter needs contact with the material, so it works on exposed studs, skirting and plaster. Neither pinpoints the exact leak, but both narrow the search area.
Why does my wall get damp only in winter?
Cold weather makes the inner face of an exterior wall colder, so water vapour in the room air condenses there first. That is why damp patches often appear in the same spot each winter. Improving ventilation and insulation usually reduces it.
How long should a wall take to dry after a leak is fixed?
Keep a dehumidifier running and check the meter against a known-dry reference before you repaint. Replastering too early traps moisture and the stain returns.
Thank you for reading!