
How to Install a Wall-Mounted Dehumidifier?
By: John Ledford | Date Posted: December 15, 2021
Table of Contents
- What Is a Wall-Mounted Dehumidifier?
- How Does a Wall-Mounted Dehumidifier Work?
- What You’ll Need to Install a Wall-Mounted Dehumidifier
- How to Install a Wall-Mounted Dehumidifier[+]
- Benefits of a Wall-Mounted Dehumidifier[+]
- Mistakes to Avoid
- Keeping It Running Well
- FAQ[+]
- Can I install a wall-mounted dehumidifier myself?
- Does a wall-mounted dehumidifier need a drain?
- Where should I mount a wall dehumidifier?
- What humidity should I set it to?
- Wall-mounted or portable: which is better?
- Can I install a wall-mounted dehumidifier in a bathroom?
- How much does a wall-mounted dehumidifier cost to run?
To install a wall-mounted dehumidifier, pick a central spot on an interior wall, run it on a dedicated electrical circuit, screw the unit and its control panel to the wall, connect a drain line for the condensate, wire in the humidity sensor, then power it up and set your target humidity. The mechanical parts are a straightforward DIY job. The dedicated circuit is the one step most homeowners should hand to a licensed electrician.
A wall dehumidifier saves the floor space a portable unit eats up, and it runs quieter because the wall muffles the compressor. Below is the full process, the tools you’ll need, roughly what it costs, and the steps that are worth calling a pro for.
The install in short:
- Choose a central interior wall away from vents, doors, and windows.
- Have a dedicated circuit and breaker ready (electrician’s job for hardwired units).
- Mount the control panel and humidity sensor.
- Screw the dehumidifier to the wall using the supplied brackets.
- Run the drain line to a gravity drain, or add a condensate pump.
- Wire the final connections, double-check, then power on.
What Is a Wall-Mounted Dehumidifier?
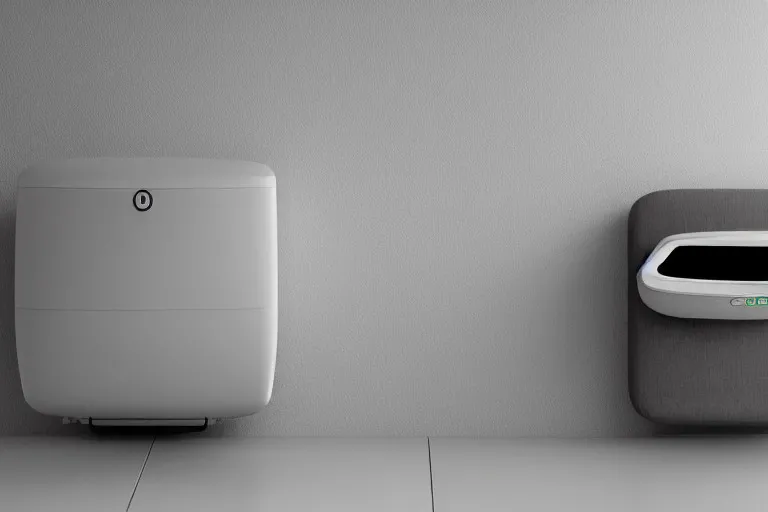
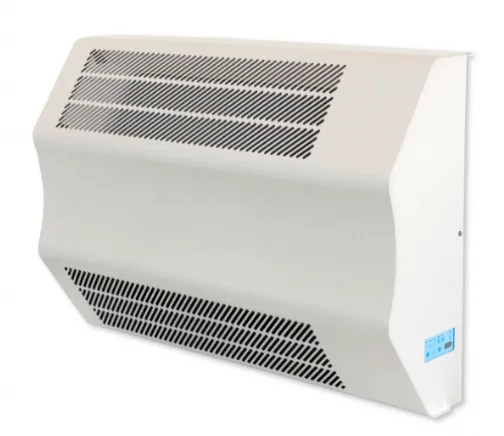
A wall-mounted dehumidifier is a moisture-removal unit that fixes directly to the wall instead of sitting on the floor. You’ll also see it called an in-wall, built-in, or whole-house dehumidifier. It mounts much like a wall air conditioner and pulls damp air from the room without taking up a square foot of floor.
Because it stays out of the way, it suits small rooms, finished basements, and bedrooms where a portable unit would be in the way. Many models cover a large area and drain continuously, so you’re not emptying a tank every day. If you’re still choosing a unit, match its pint-per-day capacity and coverage to your room size before you buy.
How Does a Wall-Mounted Dehumidifier Work?
The unit’s fan draws warm, humid room air across a set of cold refrigerant coils. As the air cools, the moisture in it condenses into liquid water, the same way droplets form on a cold glass in summer.
That water drips into a collection tray and out through the drain line, while the fan pushes the now-drier air back into the room. In cooler conditions the coils can frost over, so most units run an automatic defrost cycle that pauses to clear the ice before carrying on. Run it long enough and the room’s relative humidity settles into the 30–50% range, which is the comfortable, mold-unfriendly band most guides recommend.
What You’ll Need to Install a Wall-Mounted Dehumidifier
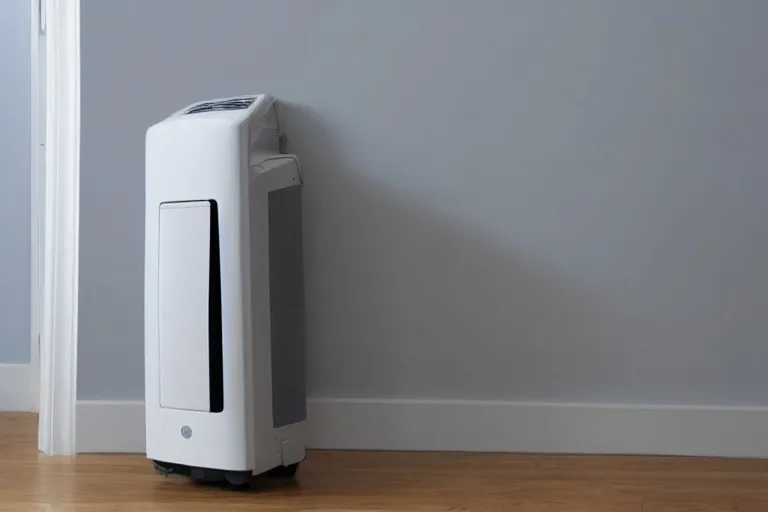
Gather everything before you start so you’re not stopping halfway to hunt for a fitting. Here’s the basic kit:
- The wall-mounted dehumidifier and its installation manual
- A dedicated circuit and circuit breaker (sized to the unit’s rating)
- Control panel and humidity sensor (usually in the box)
- Cordless drill plus a driver bit and the supplied screws/anchors
- Stud finder and a level
- PVC drain line, or a condensate pump if there’s no gravity fall
- In-line water filter (for models with a fresh-water feed)
Plan on about 2 to 4 hours for a straightforward mount. Budget-wise, a wall or whole-house unit typically runs a few hundred dollars up to a bit over a thousand, and if you bring in an electrician for the dedicated circuit, add their call-out and labor on top. Check your unit’s manual for its exact amperage and drainage specs before buying parts.
How to Install a Wall-Mounted Dehumidifier
With the tools laid out, work through the steps below in order. Read your model’s manual alongside this guide, since bracket patterns and wiring terminals vary between brands.
1. Choose the Right Location
Pick a central spot on an interior wall so the unit can pull air evenly from the room. Keep it clear of air-conditioner vents, heaters, doors, and windows, which throw off the humidity reading. Confirm the wall can take the unit’s weight and find the studs with a stud finder. A hardwired unit needs a dedicated circuit and breaker, and that electrical work is the point to call a licensed electrician if your room isn’t already wired for it.
2. Mount the Control Panel
Fix the control panel to a central, easy-to-reach wall, again away from vents and drafts so it senses true room conditions. Mark your holes, drill them, and screw the panel to the wall. Sit the humidity sensor where the manual specifies (often on or near the panel) so it can talk to the dehumidifier accurately.
3. Mount the Dehumidifier
Hold the mounting bracket to the wall, level it, and drive the supplied screws into the studs or anchors. Hang the unit on the bracket and check it sits flush and secure. Do not power it on yet, keep it dead until every connection is finished.
4. Connect the Drain and Water Lines
Attach the PVC drain line to the unit’s condensate outlet and route it to a floor drain, sink, or outside, sloping downhill the whole way so water flows by gravity. No downhill path? Fit a condensate pump to lift the water to a drain. If your model takes a fresh-water feed, connect the water line through the in-line filter to protect the unit from sediment. The water side is where a plumber earns their fee if you’re not comfortable with drain runs.
5. Make the Final Connections
Wire the dehumidifier to the control panel exactly as the manual shows, matching each terminal, and confirm the humidity sensor is connected, or the unit won’t regulate properly. Double-check every screw, bracket, and wire. Once you’re satisfied it’s mounted solidly and wired right, restore power at the breaker, switch it on, and set your target humidity (30–50% is a safe start).
Benefits of a Wall-Mounted Dehumidifier
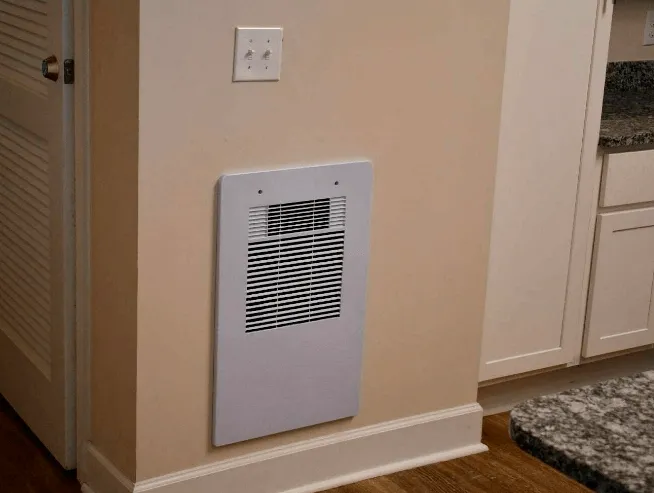
Beyond drier air, a wall unit brings a few practical wins over a portable one.
Saves Floor Space
This is the headline reason people go wall-mounted. A portable unit claims a corner of the room; a wall unit gives that floor back, which matters in a small bedroom, bathroom, or finished basement.
Hands-Off Drainage

With a portable, you empty the tank by hand every day or two. A wall unit drains continuously through its hose, so you can set it and forget it, which is the whole point if it’s tucked away in a basement.
Runs Quieter
Because the compressor sits inside the wall assembly, a lot of the noise stays trapped behind it. In a bedroom or basement that difference is easy to notice compared with a portable rattling in the corner.
Protects the Home and Air
Holding humidity in the 30–50% band discourages mold, mildew, dust mites, and the musty smell that comes with them, and it helps protect wood floors, furniture, and beams from moisture damage. If you’re chasing a persistent damp problem, it also helps to find the source of the moisture in your home first, since a dehumidifier manages symptoms rather than fixing a leak.
Mistakes to Avoid
A few slip-ups turn a clean install into a callback:
- Powering it up before the wiring is done: finish every connection first.
- Skipping the dedicated circuit: sharing a loaded circuit can trip the breaker or overheat wiring.
- A flat or uphill drain line: water needs a downhill run, or a pump; otherwise it backs up.
- Mounting near a vent or window: the sensor misreads and the unit short-cycles.
- Ignoring the manual’s bracket and terminal specs: they differ by brand.
If a wall unit feels like more than you need, you can also reduce humidity in your home without a dehumidifier using ventilation and moisture habits.
Keeping It Running Well
A wall-mounted dehumidifier needs little attention day to day, but a bit of upkeep keeps it efficient:
- Clean or replace the air filter every month or two; a clogged filter drops airflow and makes the unit work harder.
- Flush the drain line a couple of times a year so algae and sediment don’t clog it and back water up.
- Wipe the coils and check the sensor occasionally, and confirm the humidity reading still looks right against a separate hygrometer.
- Listen for changes: new rattles or a unit that runs non-stop usually means a blocked filter, a full or blocked drain, or a room that’s leaking moisture in faster than the unit can pull it out.
FAQ
Can I install a wall-mounted dehumidifier myself?
The mounting, drainage, and control-panel work are doable for a confident DIYer in a few hours. The one part to hand off is the dedicated electrical circuit for a hardwired unit, which is a licensed electrician’s job in most areas.
Does a wall-mounted dehumidifier need a drain?
Yes. It removes water continuously, so it needs a drain line running downhill to a floor drain, sink, or outside. If there’s no gravity fall, add a condensate pump to move the water up and out.
Where should I mount a wall dehumidifier?
On a central interior wall, away from air vents, heaters, doors, and windows, and screwed into studs or proper anchors so it holds the weight. A central spot lets it pull humid air evenly from the whole room.
What humidity should I set it to?
Aim for 30–50% relative humidity. That range keeps the room comfortable and is low enough to discourage mold, dust mites, and musty odors without over-drying the air.
Wall-mounted or portable: which is better?
A wall unit wins on floor space, continuous drainage, and quieter running, and suits a permanent setup. A portable is cheaper up front and moves room to room, but you empty its tank by hand. Pick by whether you want a fixed, hands-off solution or flexibility.
Can I install a wall-mounted dehumidifier in a bathroom?
Yes, and a bathroom is a common spot since it’s a humidity hotspot. Mount it clear of direct water spray, confirm the model is rated for a damp room, and make sure the electrical connection meets your local code for bathrooms, which usually means proper GFCI protection.
How much does a wall-mounted dehumidifier cost to run?
Running cost depends on the unit’s wattage, how humid your home is, and local electricity rates, so it’s best to check your model’s power draw against your tariff. Because it only cycles on when humidity climbs above your set point, a right-sized unit spends much of its time idle rather than running flat out.
Conclusion
Installing a wall-mounted dehumidifier comes down to a solid mount, a proper downhill drain, and correct wiring. Get those right and you free up floor space, cut the noise, and keep humidity in the healthy 30–50% band without emptying a tank every day. Do the mechanical work yourself, but bring in an electrician for the dedicated circuit and a plumber for the drain if you’re unsure. For a stubborn damp problem, pair the unit with fixing the moisture at its source and dealing with any existing mold so the dehumidifier can keep the room dry for good.
Part of our Moisture Control Guide.
Thank you for reading!