
Concrete Splash Blocks for Gutters: Moving Water Away From Your Foundation
By: John Ledford | Date Posted: October 20, 2026
Table of Contents
- Key Points at a Glance
- Why Water at the Foundation Matters
- Concrete Splash Blocks vs Plastic and Rubber Guards
- Tools and Materials You Need
- Gutter Splash Guard Installation in Seven Steps
- Getting the Slope and Distance Right
- Common Mistakes and How to Avoid Them
- Cost and Time Expectations
- When to Call a Pro
- Splash Blocks and Splash Guards FAQ[+]
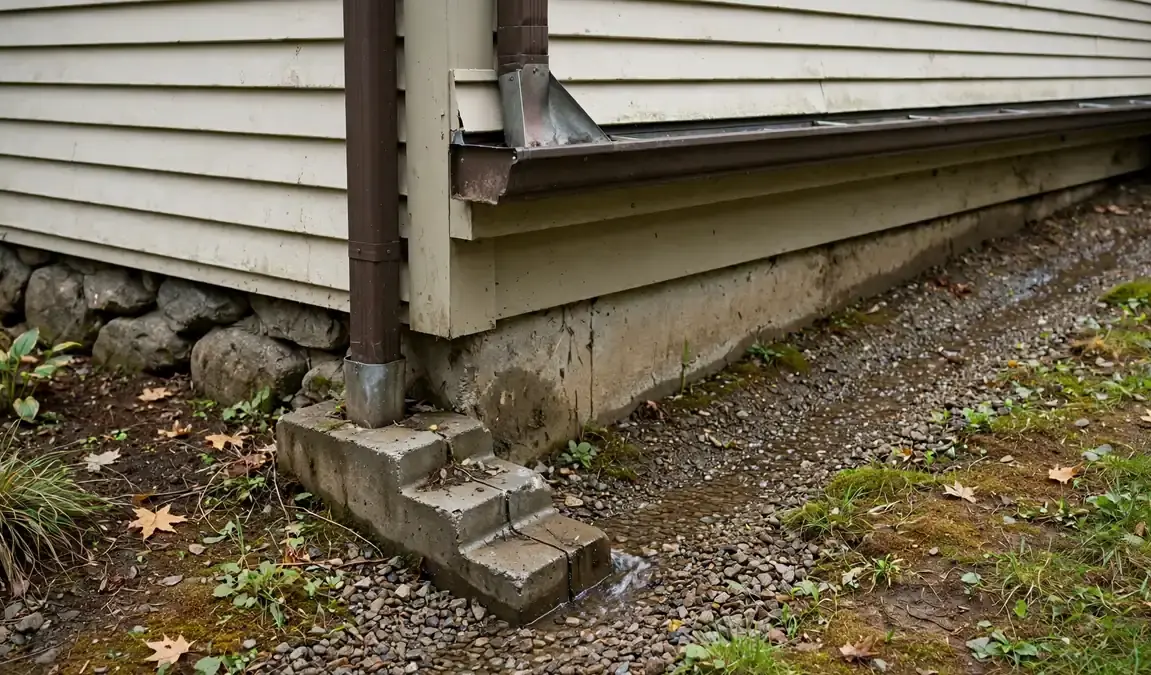
A splash block is a shallow concrete or plastic trough that sits under a downspout outlet and carries roof runoff a few feet away from the wall before it soaks into the ground. Setting one is a half-hour job per outlet with a shovel and a level, and it is one of the cheapest ways to stop water pooling against a foundation. The slope and the distance decide whether the water leaves the wall.
Key Points at a Glance
- One concrete block per downspout outlet, seated below the outlet so water drops in
- Bed the block on compacted gravel where soil is soft, firm it with a mallet
- Tip the channel away from the house and check the fall with a spirit level
- Fit an elbow so the stream lands in the channel, and seal dripping joints
- Fix the ground past the block, since flat or back-pitched soil just relocates the puddle
- Keep the outlet clear of mulch and make sure the channel drains before winter
Why Water at the Foundation Matters
Why Water at the Foundation Matters1Watch the outlet2Clear weeds3Dig a shallow bed4Bed the block5Check the fall6Fit an elbow7Run a hose down the downspoutThe steps from this section at a glance.
A downspout that dumps straight onto the ground puts a concentrated stream of water exactly where you least want it. Roof runoff from a modest house is a lot of water in a short storm, and bare soil under an outlet erodes into a trench within a season. That trench then channels water back toward the footing.
A concrete splash block does the collecting and the carrying. The ground does the shedding, provided it falls away from the house. Clay soil holds water far longer than sandy loam, so the same block behaves differently on each. In heavy clay, plan on a longer run of pipe or a built-up swale to keep runoff moving through the wet months. In heavy clay country, spring and autumn are when a footing takes the most punishment.
A guide to every piece of a rain gutter system explains how gutters, downspouts and outlets work together.
Concrete Splash Blocks vs Plastic and Rubber Guards
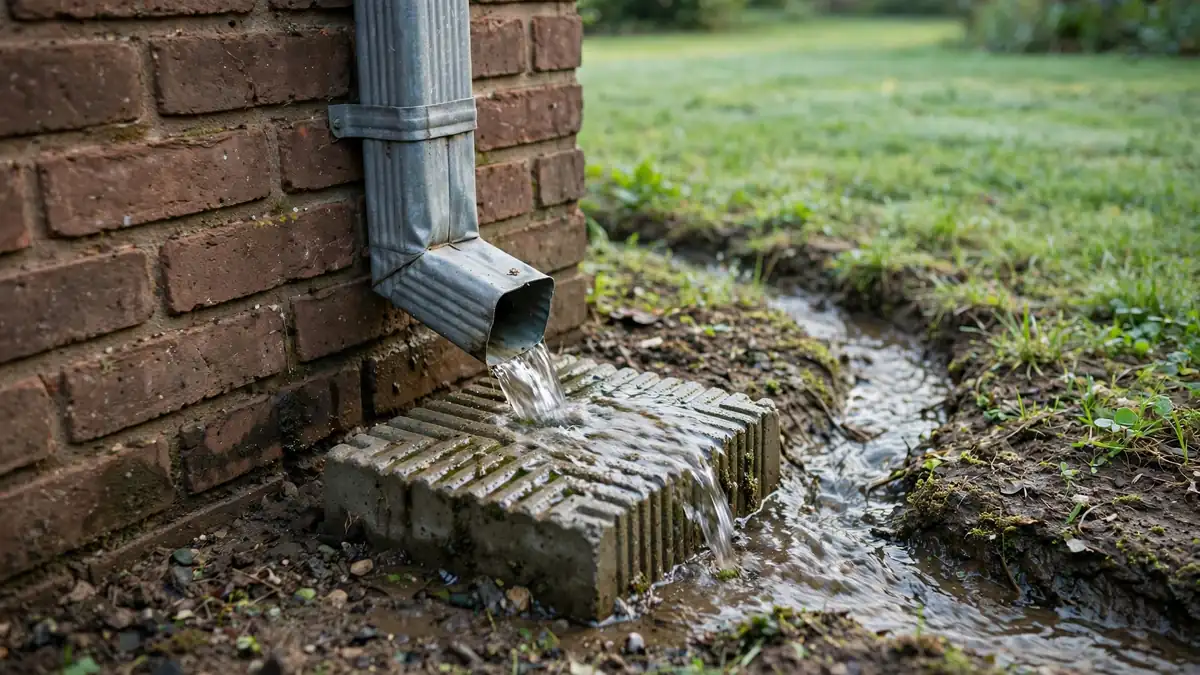
Concrete splash blocks are heavy, cheap and stay put. A cast block with a molded channel will not blow over in a Texas windstorm or float off in a Carolina downpour. The weight of cast concrete is what keeps it in line through a spring thaw. Concrete also resists the freeze-thaw cycling of a Northern winter better than a thin rubber mat. They crack if you drop them on a hard surface or run a mower over the edge, and they are awkward to move once set.
Plastic and rubber splash guards weigh almost nothing, flex to fit odd grades, and cost less per unit. Light ones shift, and a shifted guard sends water sideways along the wall. If you buy flexible, pin it down or bed it into the soil. A hinged or pop-up extension connects to the downspout and flips up when you mow. These work well where the outlet sits close to a walkway or a bed. They cost more and have moving parts that clog with leaves.
Tools and Materials You Need
- Concrete splash block, one per downspout outlet
- Shovel or hand trowel
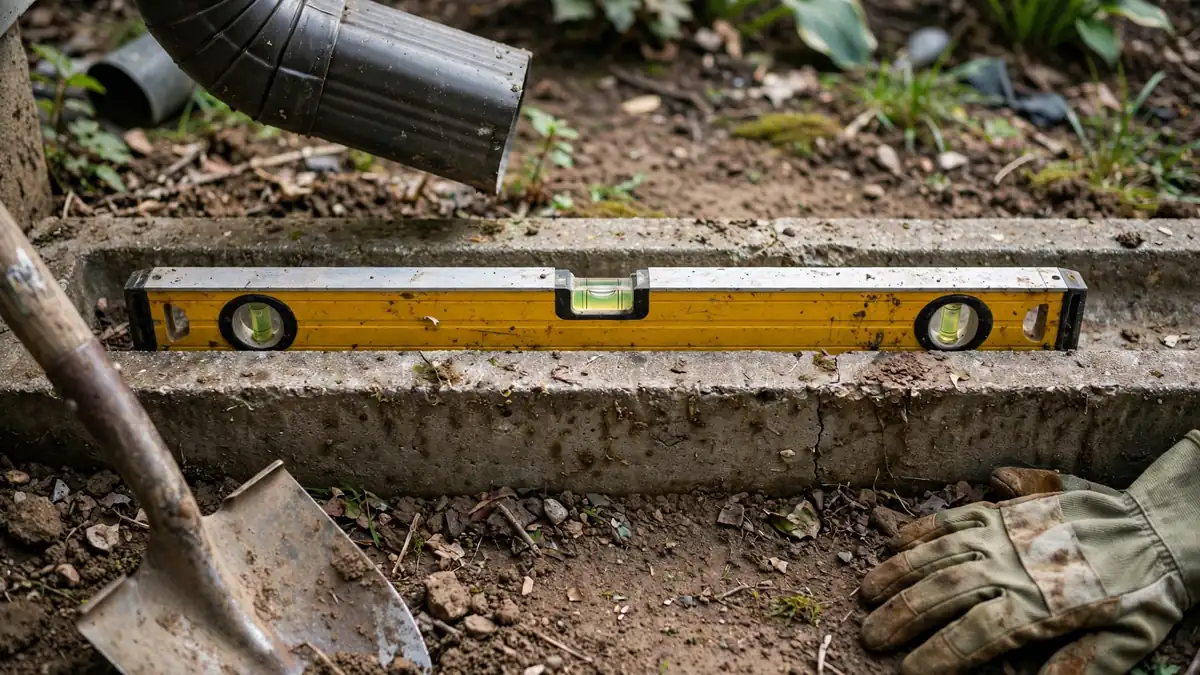
- Spirit level
- Gloves
- Compacted gravel or crushed stone (optional, for soggy spots)
- Landscape fabric (optional, to keep gravel clean)
- A rubber mallet for seating a block
Check the label on any sealer or adhesive you use, and check local code before you change the grade around a foundation.
Gutter Splash Guard Installation in Seven Steps
This is the procedure for a single outlet. Repeat it at each downspout.
- Watch the outlet in a rain. Note where the water actually lands and which way the ground already falls. A dry-day guess is often wrong.
- Clear the spot. Pull weeds, lift sod, and scrape the soil flat where the block will sit. Remove any loose fill that will settle later.
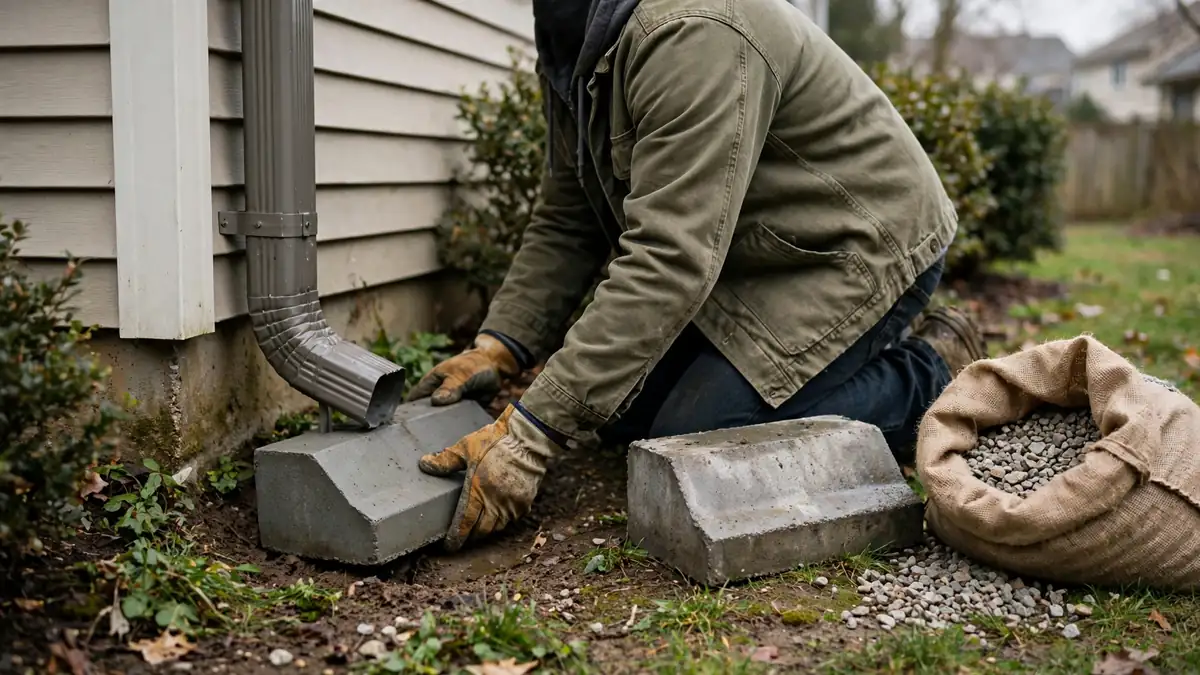
- Dig a shallow bed. Excavate just enough that the top of the block sits slightly below the downspout outlet, so water drops onto it instead of splashing past.
- Set the base. On soft ground, bed the block on a couple of inches of compacted gravel. On firm soil, seat it directly and firm it with the mallet.
- Check the fall. Lay the level along the channel. The block should tip away from the house so water runs off the far end. Adjust the bed until it does.
- Aim the outlet. If the downspout ends above the block, fit an elbow so the stream lands in the channel, not on the edge. Seal any joint that drips with gutter seam sealer so the water goes where you aimed it.
- Test it. Run a hose down the downspout and watch. Water should leave the far end of the block and keep moving away from the wall. If it pools, extend the run with a second block or a buried pipe.
Getting the Slope and Distance Right
The ground past the block has to keep the water moving. A splash block that releases water onto flat clay soil just relocates the puddle a few feet out.
Aim for a visible fall away from the wall over the first stretch beyond the block. If the ground is flat or back-pitched, add soil to build a swale, or run a buried corrugated pipe from the outlet to a daylight point downhill. A spirit level laid on the soil shows whether you have it. On sandy loam the water soaks away fast; on clay it needs the full fall to keep moving, and a gravel bed under the block helps the water drain through the wet months.
Distance matters as much as slope. The block should throw water far enough that it cannot creep back along the surface or through the backfill against the footing. Where space is tight, a longer run of pipe beats a bigger block.
Common Mistakes and How to Avoid Them
Setting the block too high. If the top of the block sits above the downspout outlet, water backs up the pipe or spills behind the block. Keep the outlet just above the channel.
Skipping the level. A block that looks fine by eye can tip toward the wall. Check it.
Leaving a gap at the outlet. A stream that misses the channel erodes the soil beside it. Fit an elbow and seal the joints.
Ignoring the ground beyond. A block fails on back-pitched soil. Fix the grade or add pipe.
Forgetting winter. In cold climates, a block that holds water can crack when it freezes. Make sure it drains fully before the first hard frost, and clear grit and leaves from the channel in autumn.
Blocking the flow with mulch. Mulch piled against the outlet soaks up the water and holds it at the wall. Keep the outlet clear.
A rundown of gutter and downspout accessories worth adding covers extensions, diverters and rain barrels.
Cost and Time Expectations
Concrete splash blocks are among the least expensive gutter parts you can buy, and the price per unit drops when you buy a bundle for every outlet on the house. Plastic guards cost less again. A downspout elbow and a tube of sealer add a little. A home with four outlets and firm, well-drained soil is an afternoon at most.
When to Call a Pro
Call a contractor or a foundation specialist if water still pools against the wall after the blocks are set and the grade is fixed, if you see cracks in the foundation or doors and windows that stick after rain, if a downspout cannot be extended because of a driveway, patio or property line, or if soil stays saturated for days after a storm.
Drainage that runs toward a neighbor’s property or into a municipal system also needs a check against local rules before you dig.
Splash Blocks and Splash Guards FAQ
Do I need a splash block under every downspout?
Yes, if the outlet discharges onto soil or pavement near the wall. Every downspout is a concentrated release point, and the ones nearest the foundation do the most damage. Outlets that feed a buried pipe or a rain barrel do not need one.
Will a concrete splash block crack in winter?
It can, if water sits in it and freezes. Set the block so the channel drains completely, and clear leaves and grit that trap water. A block that stays wet and freezes repeatedly will eventually spall or crack.
Can I connect a splash block to a buried drain pipe?
Yes, and it is a common answer where the ground is flat. Set the block, then run corrugated pipe from its far end to a daylight outlet downhill. Keep the joint clear of soil.
Thank you for reading!